Full Home Tile Demo and Marble-Look Floor Installation
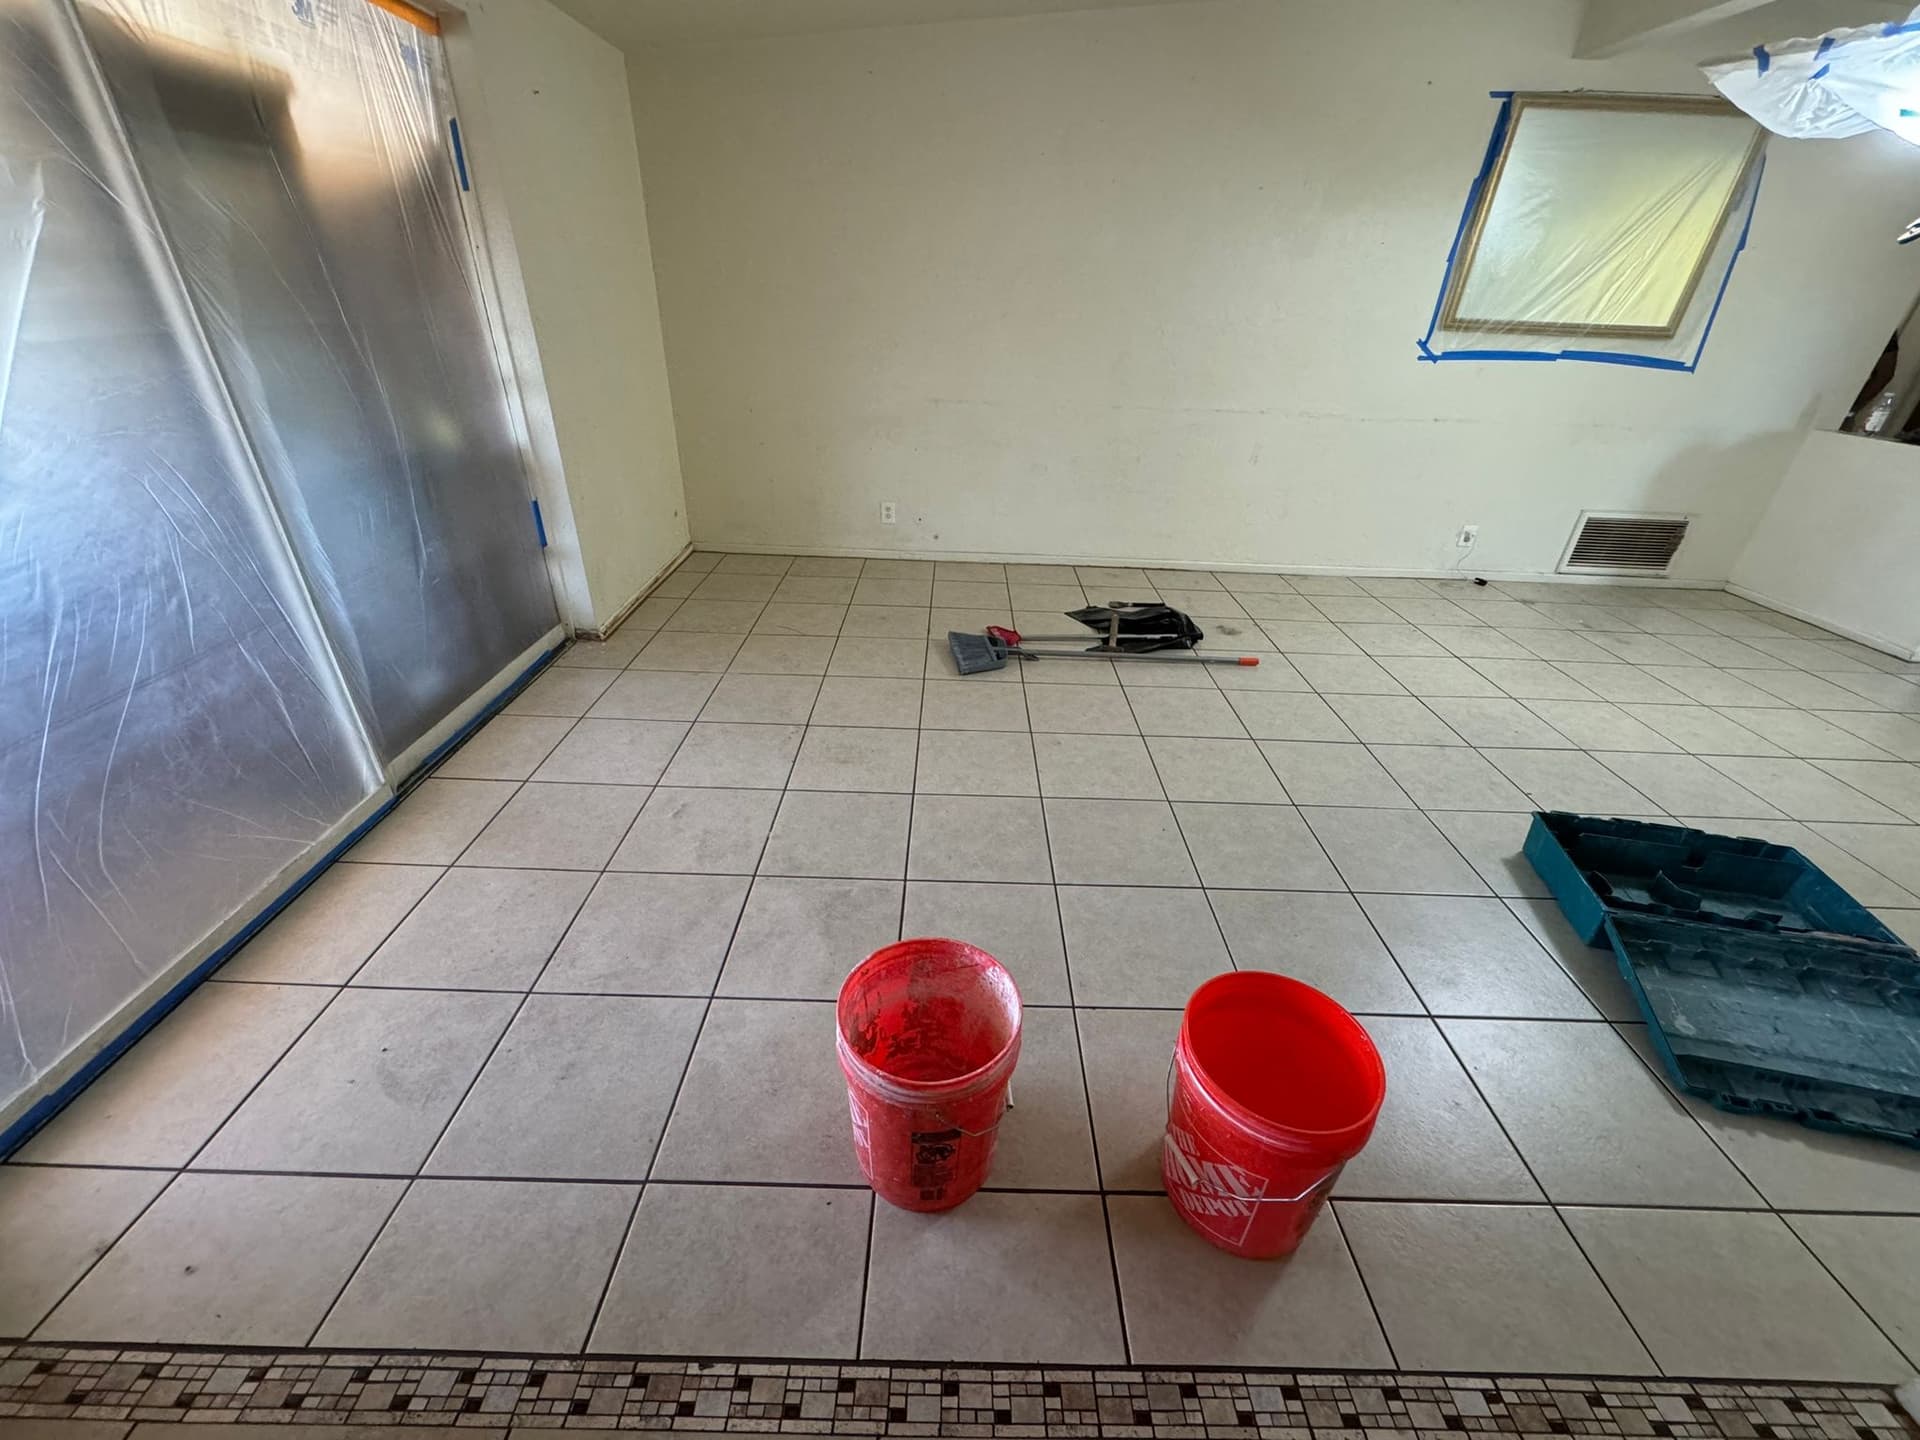
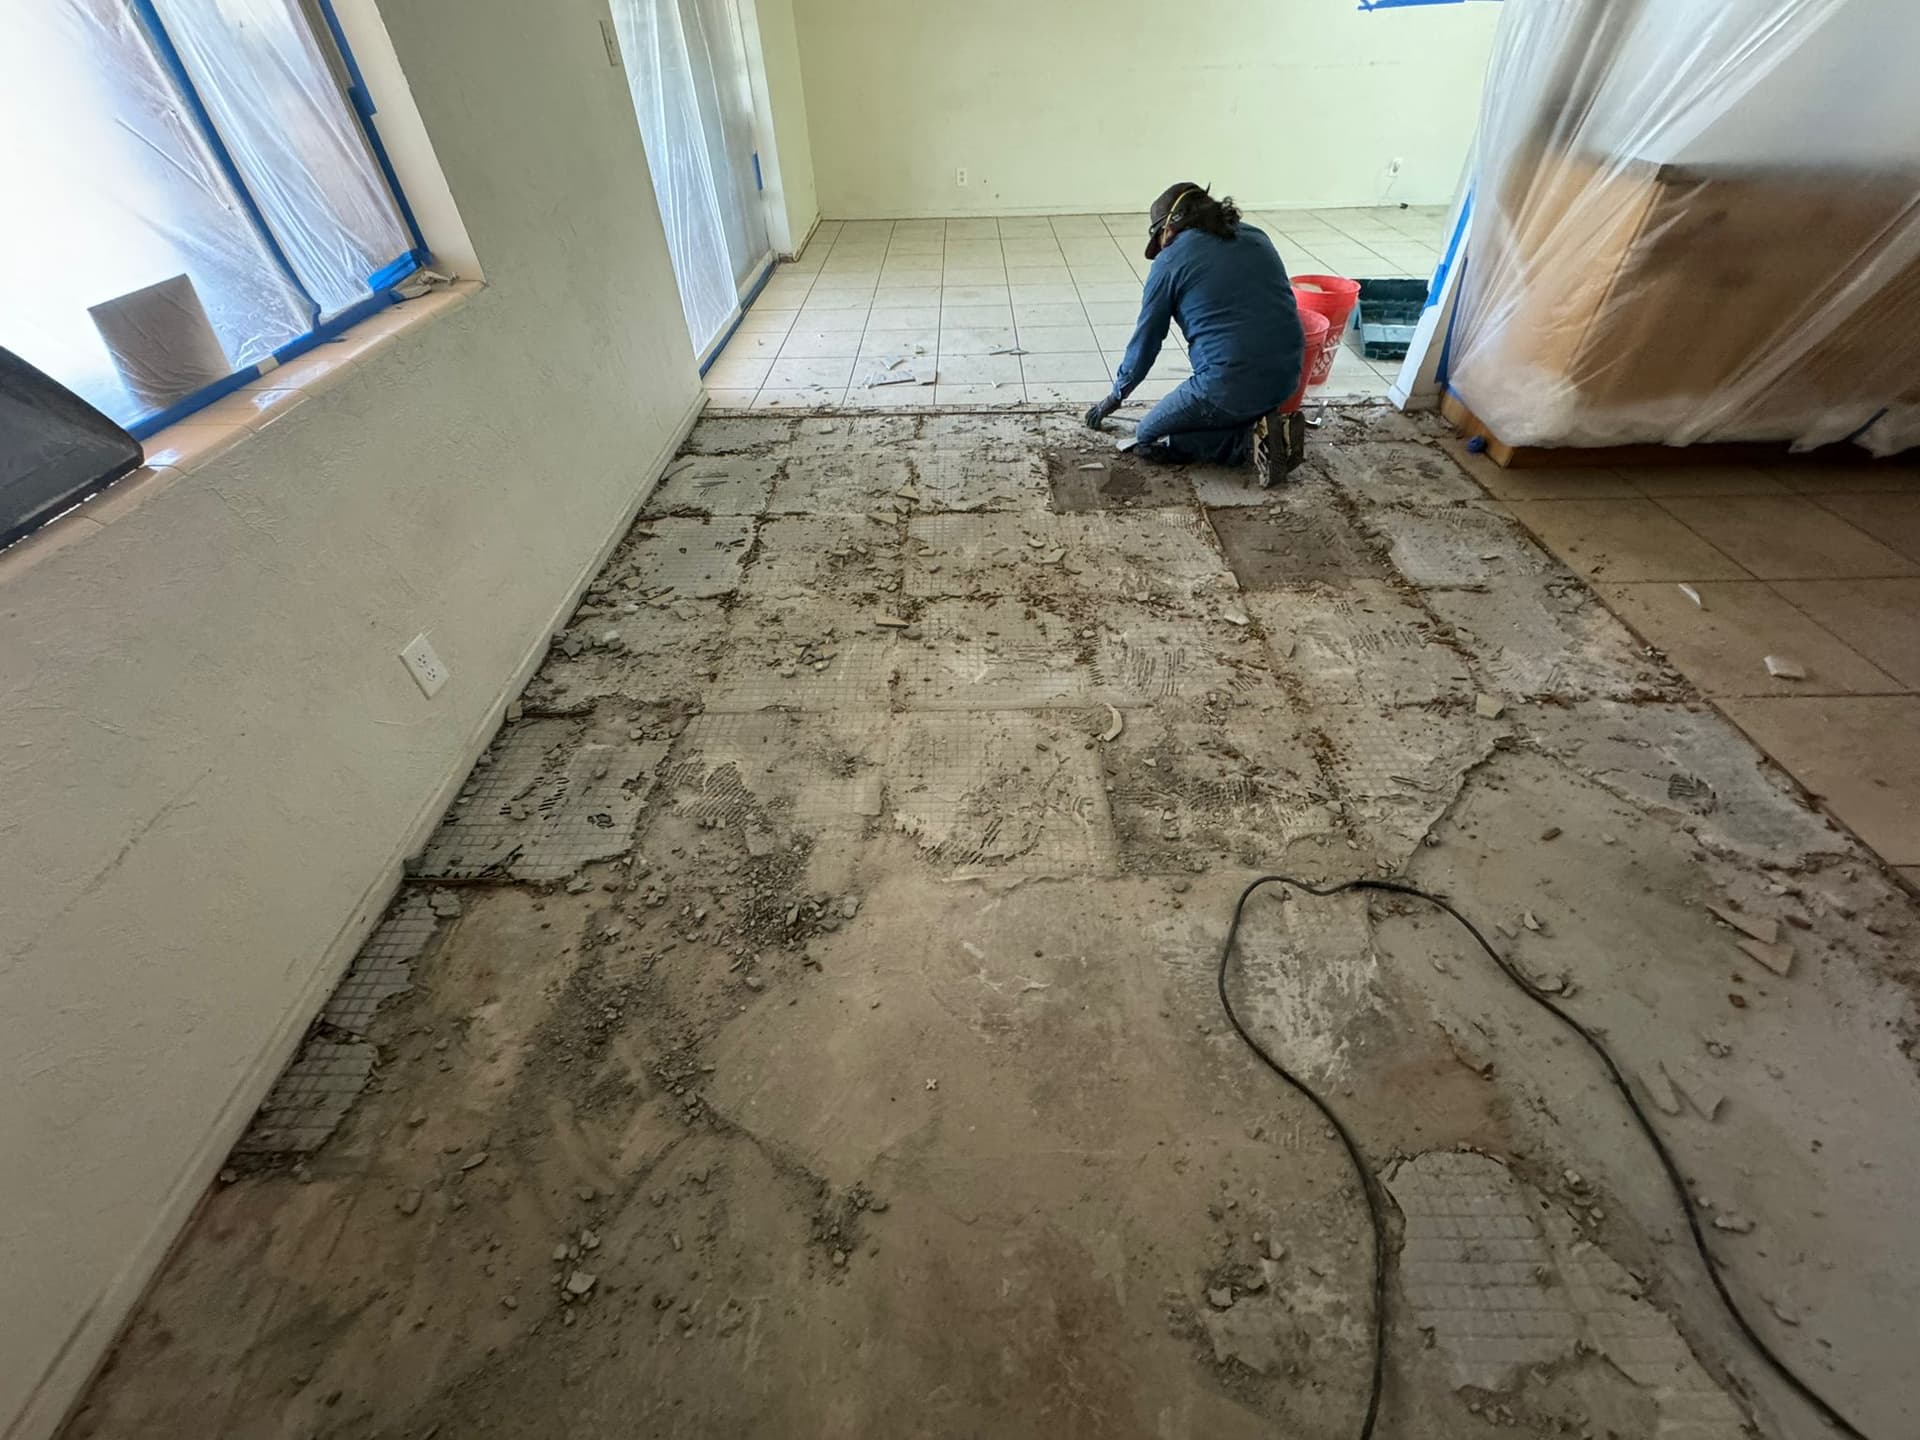
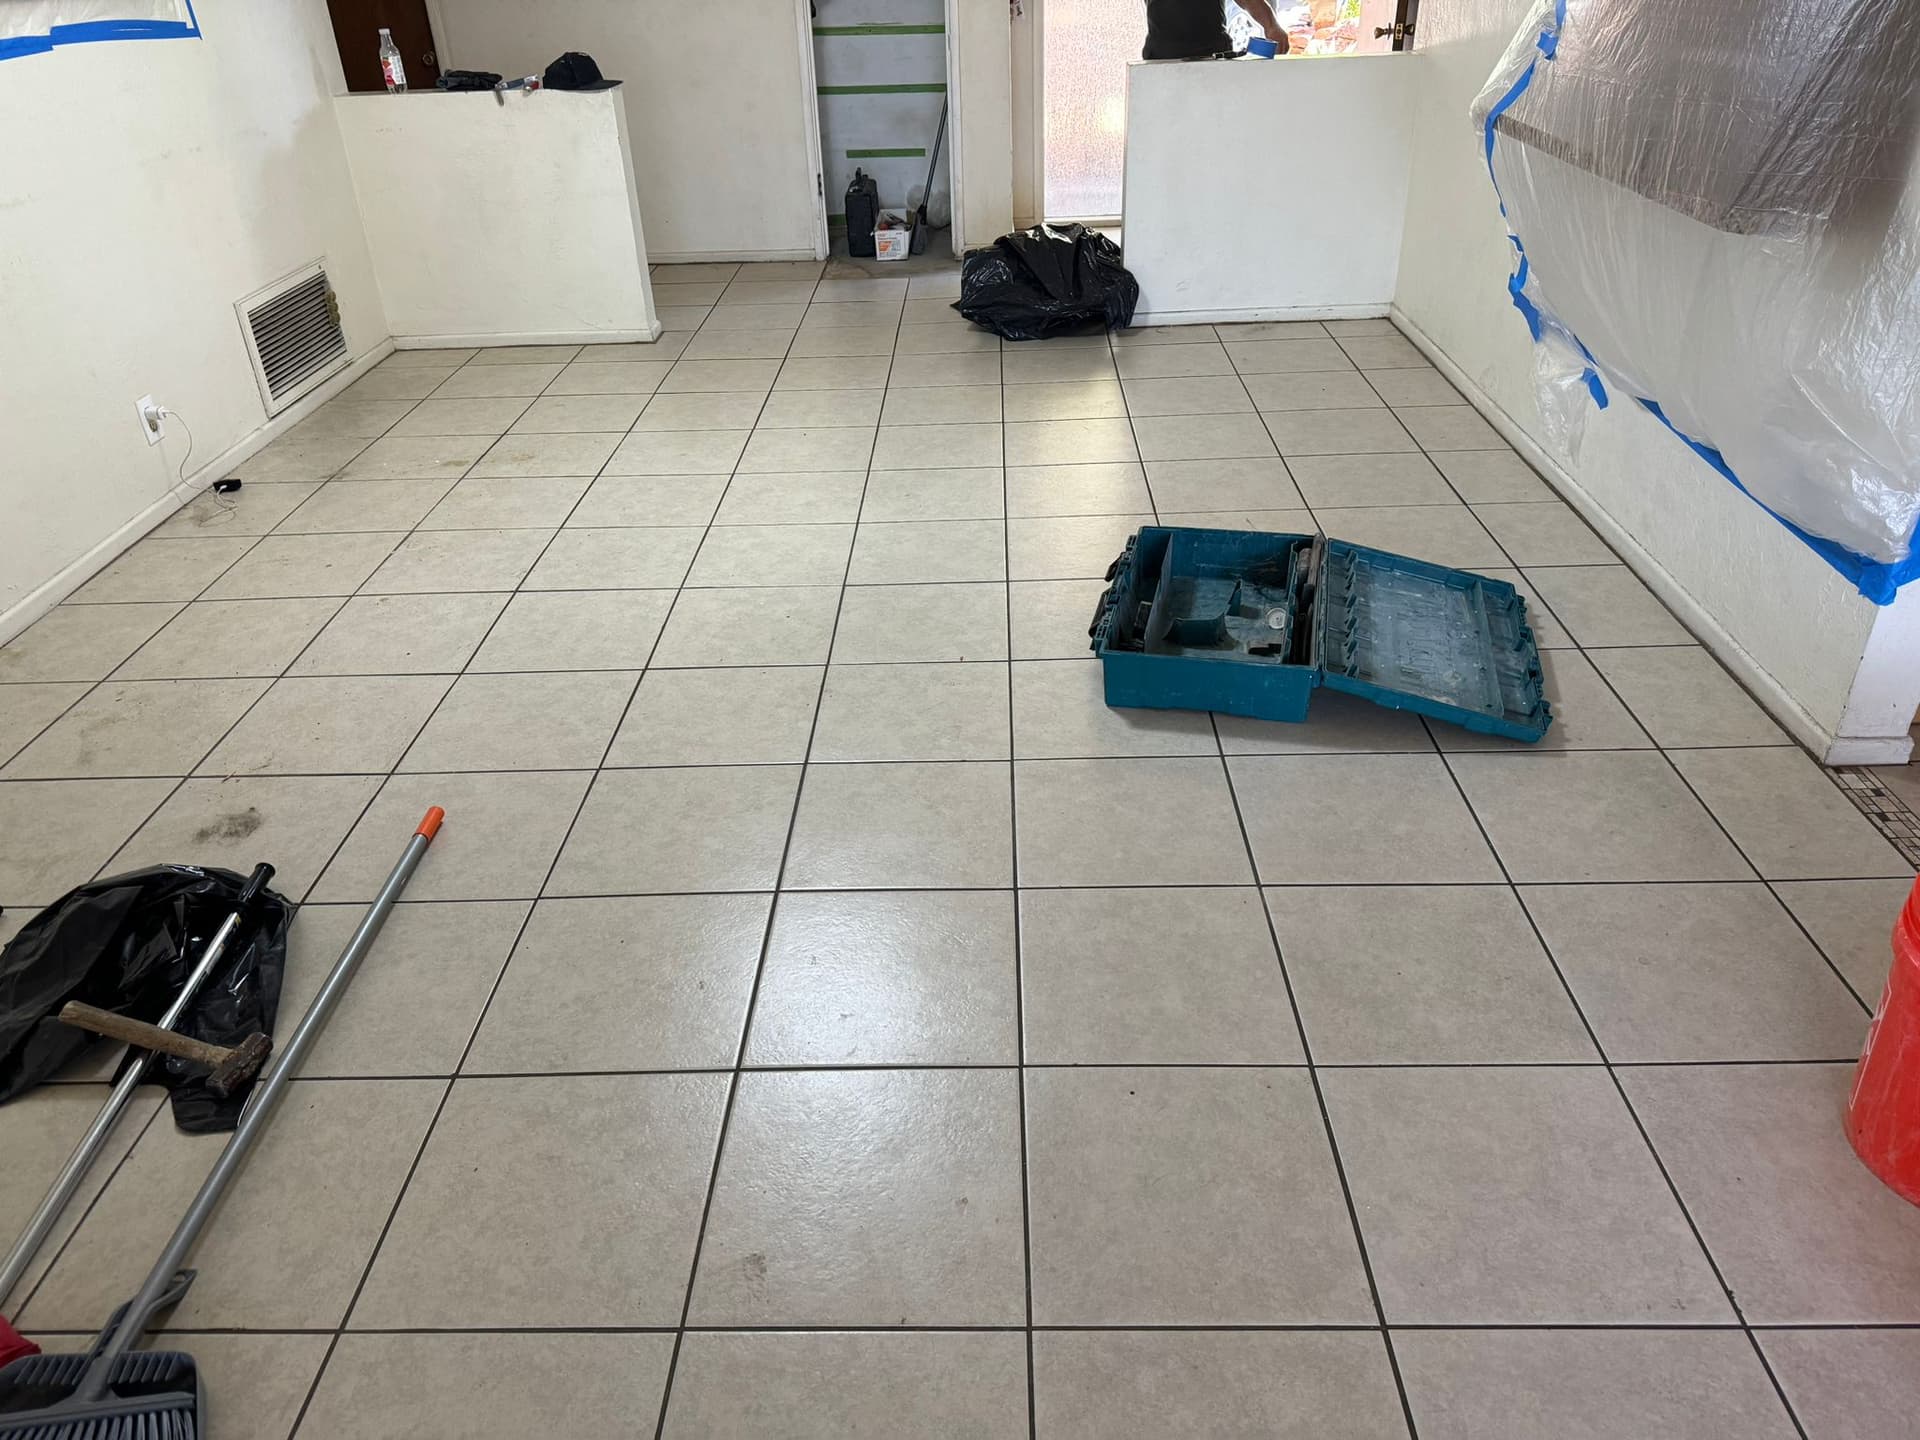
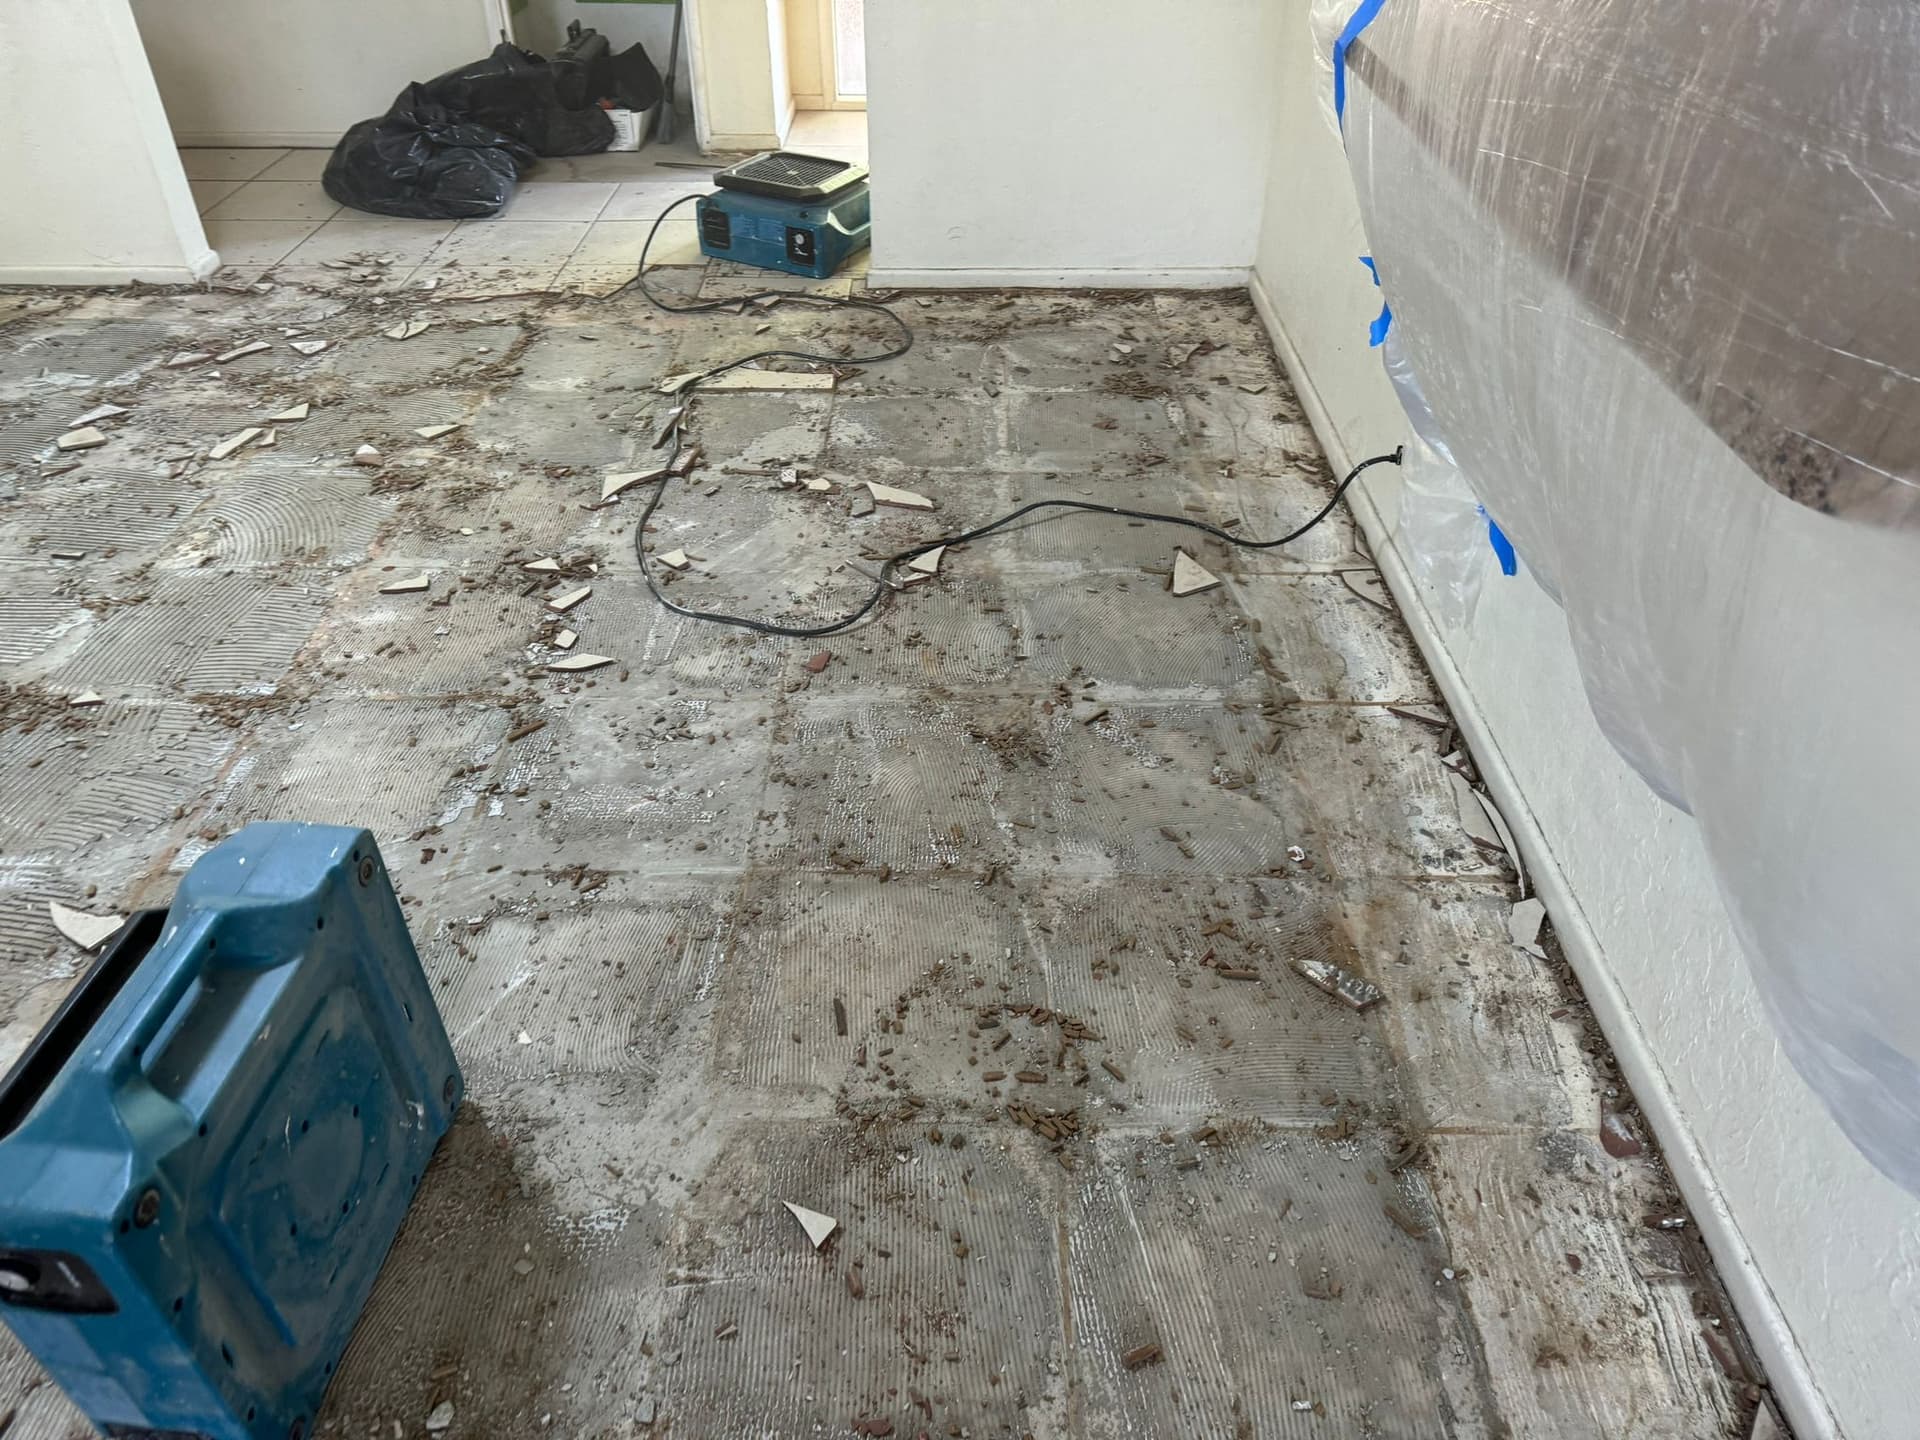
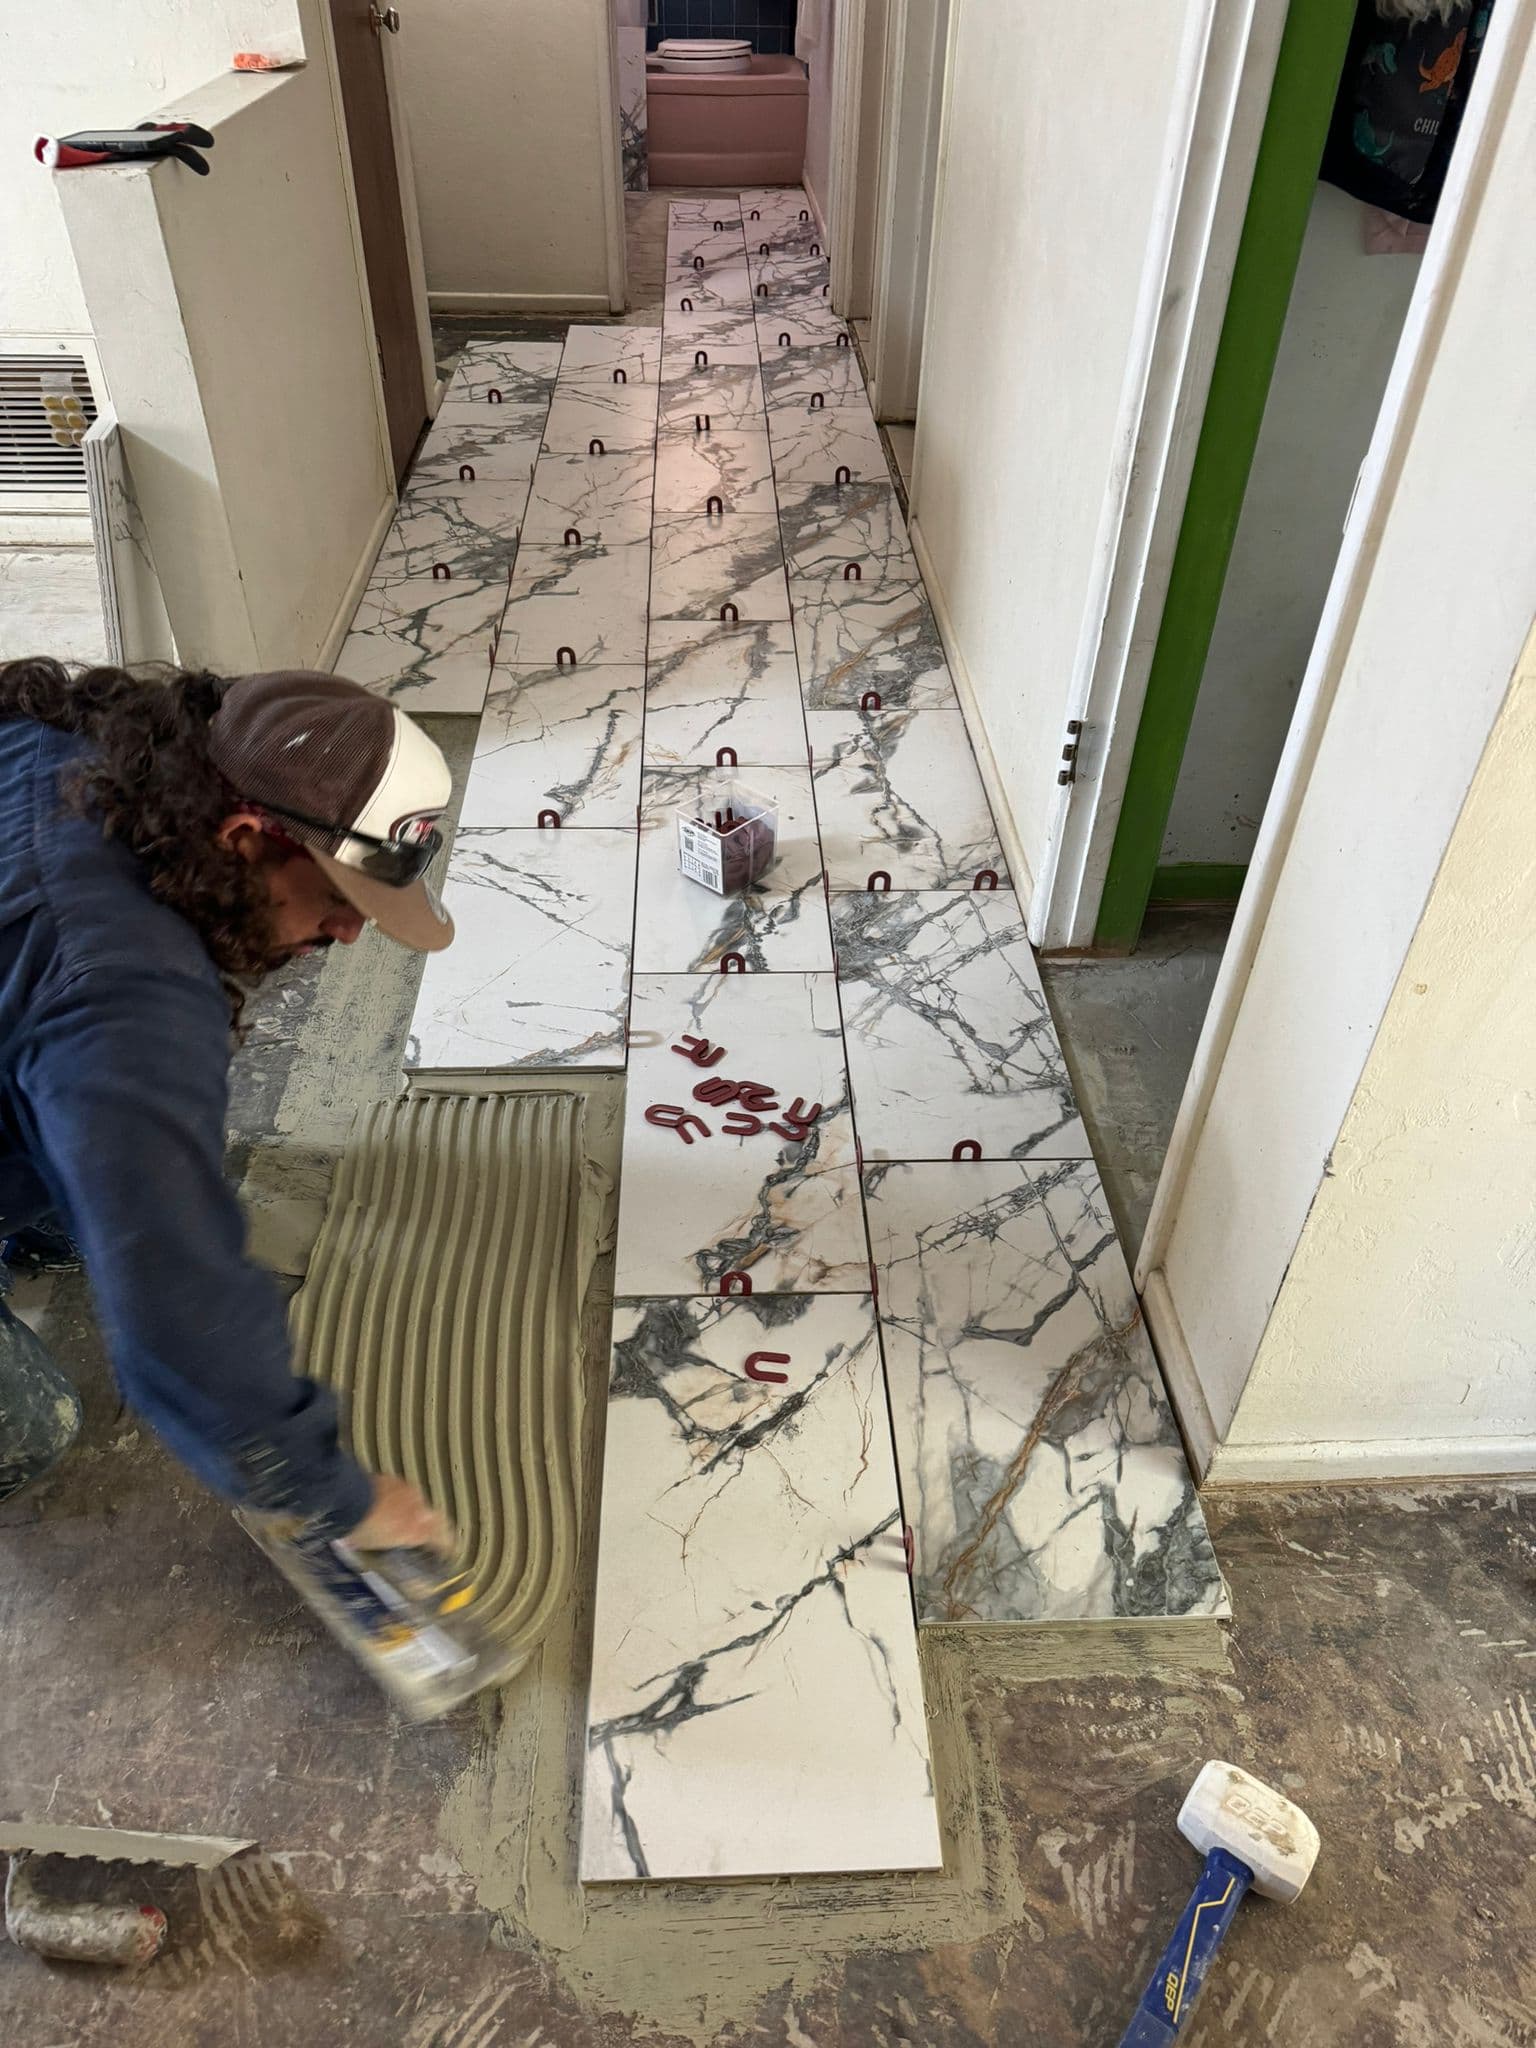
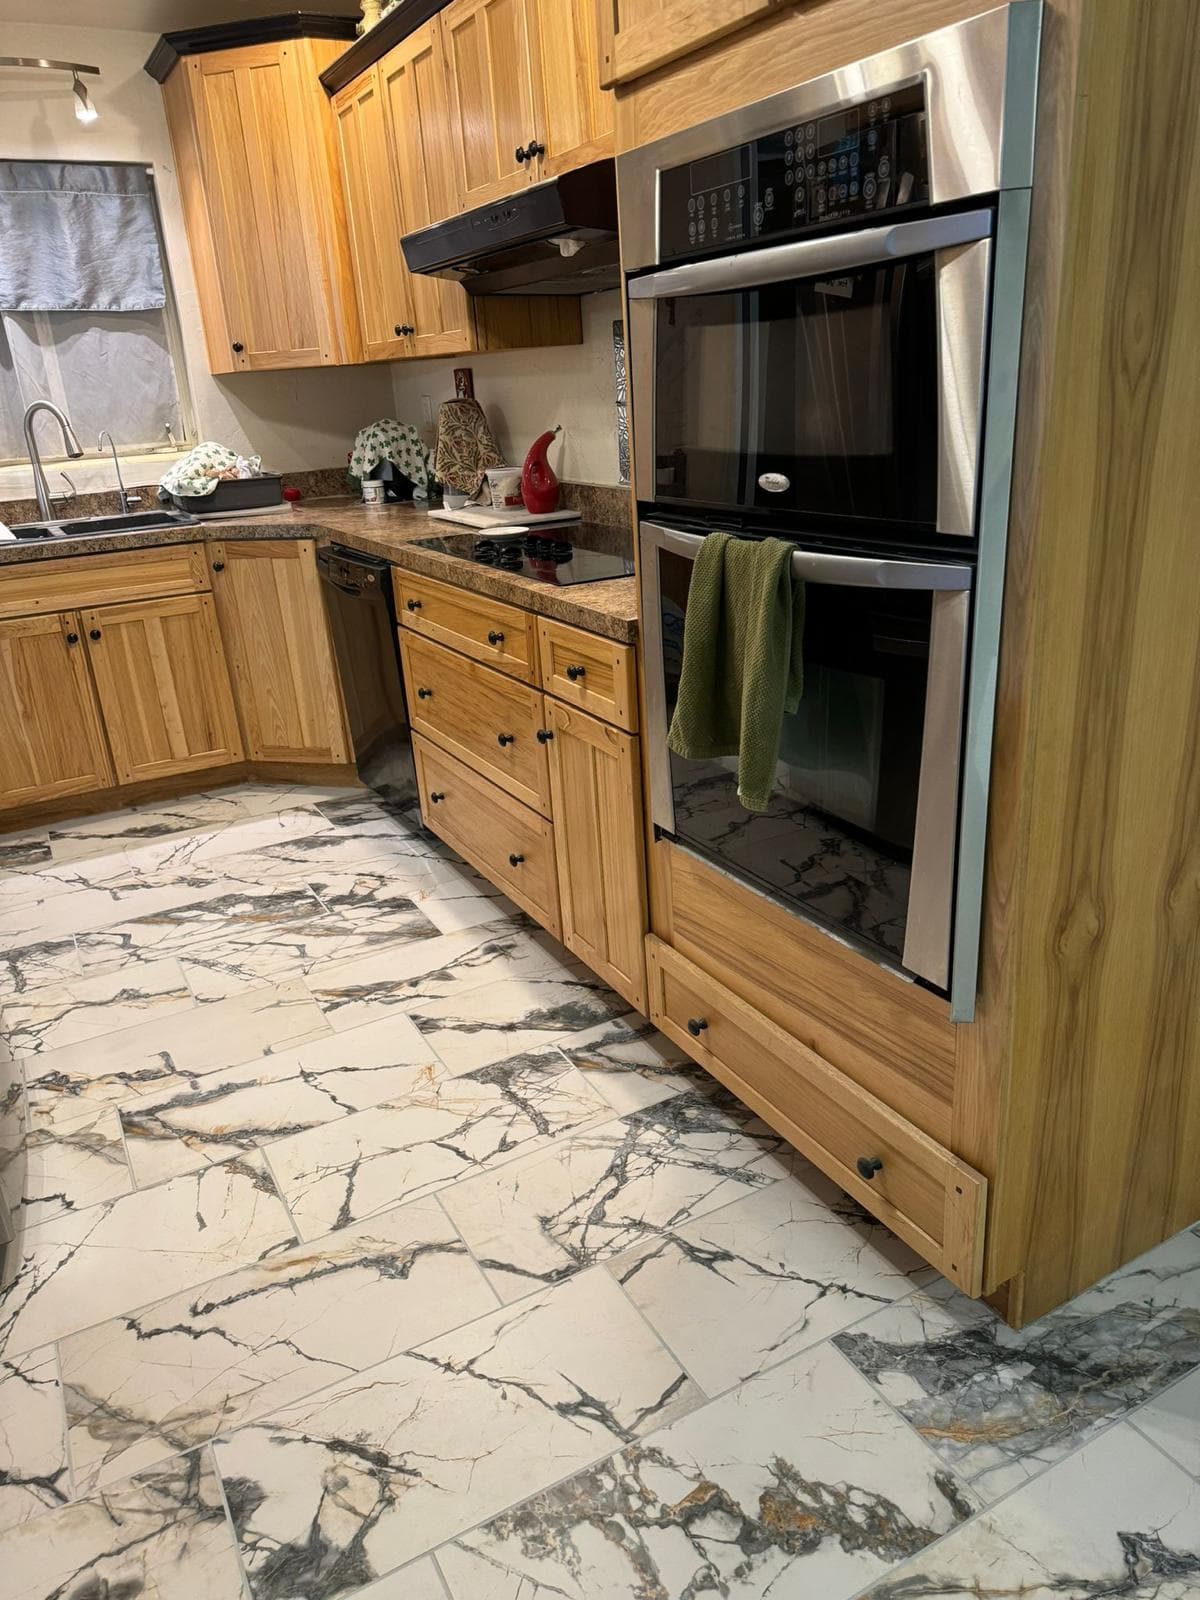
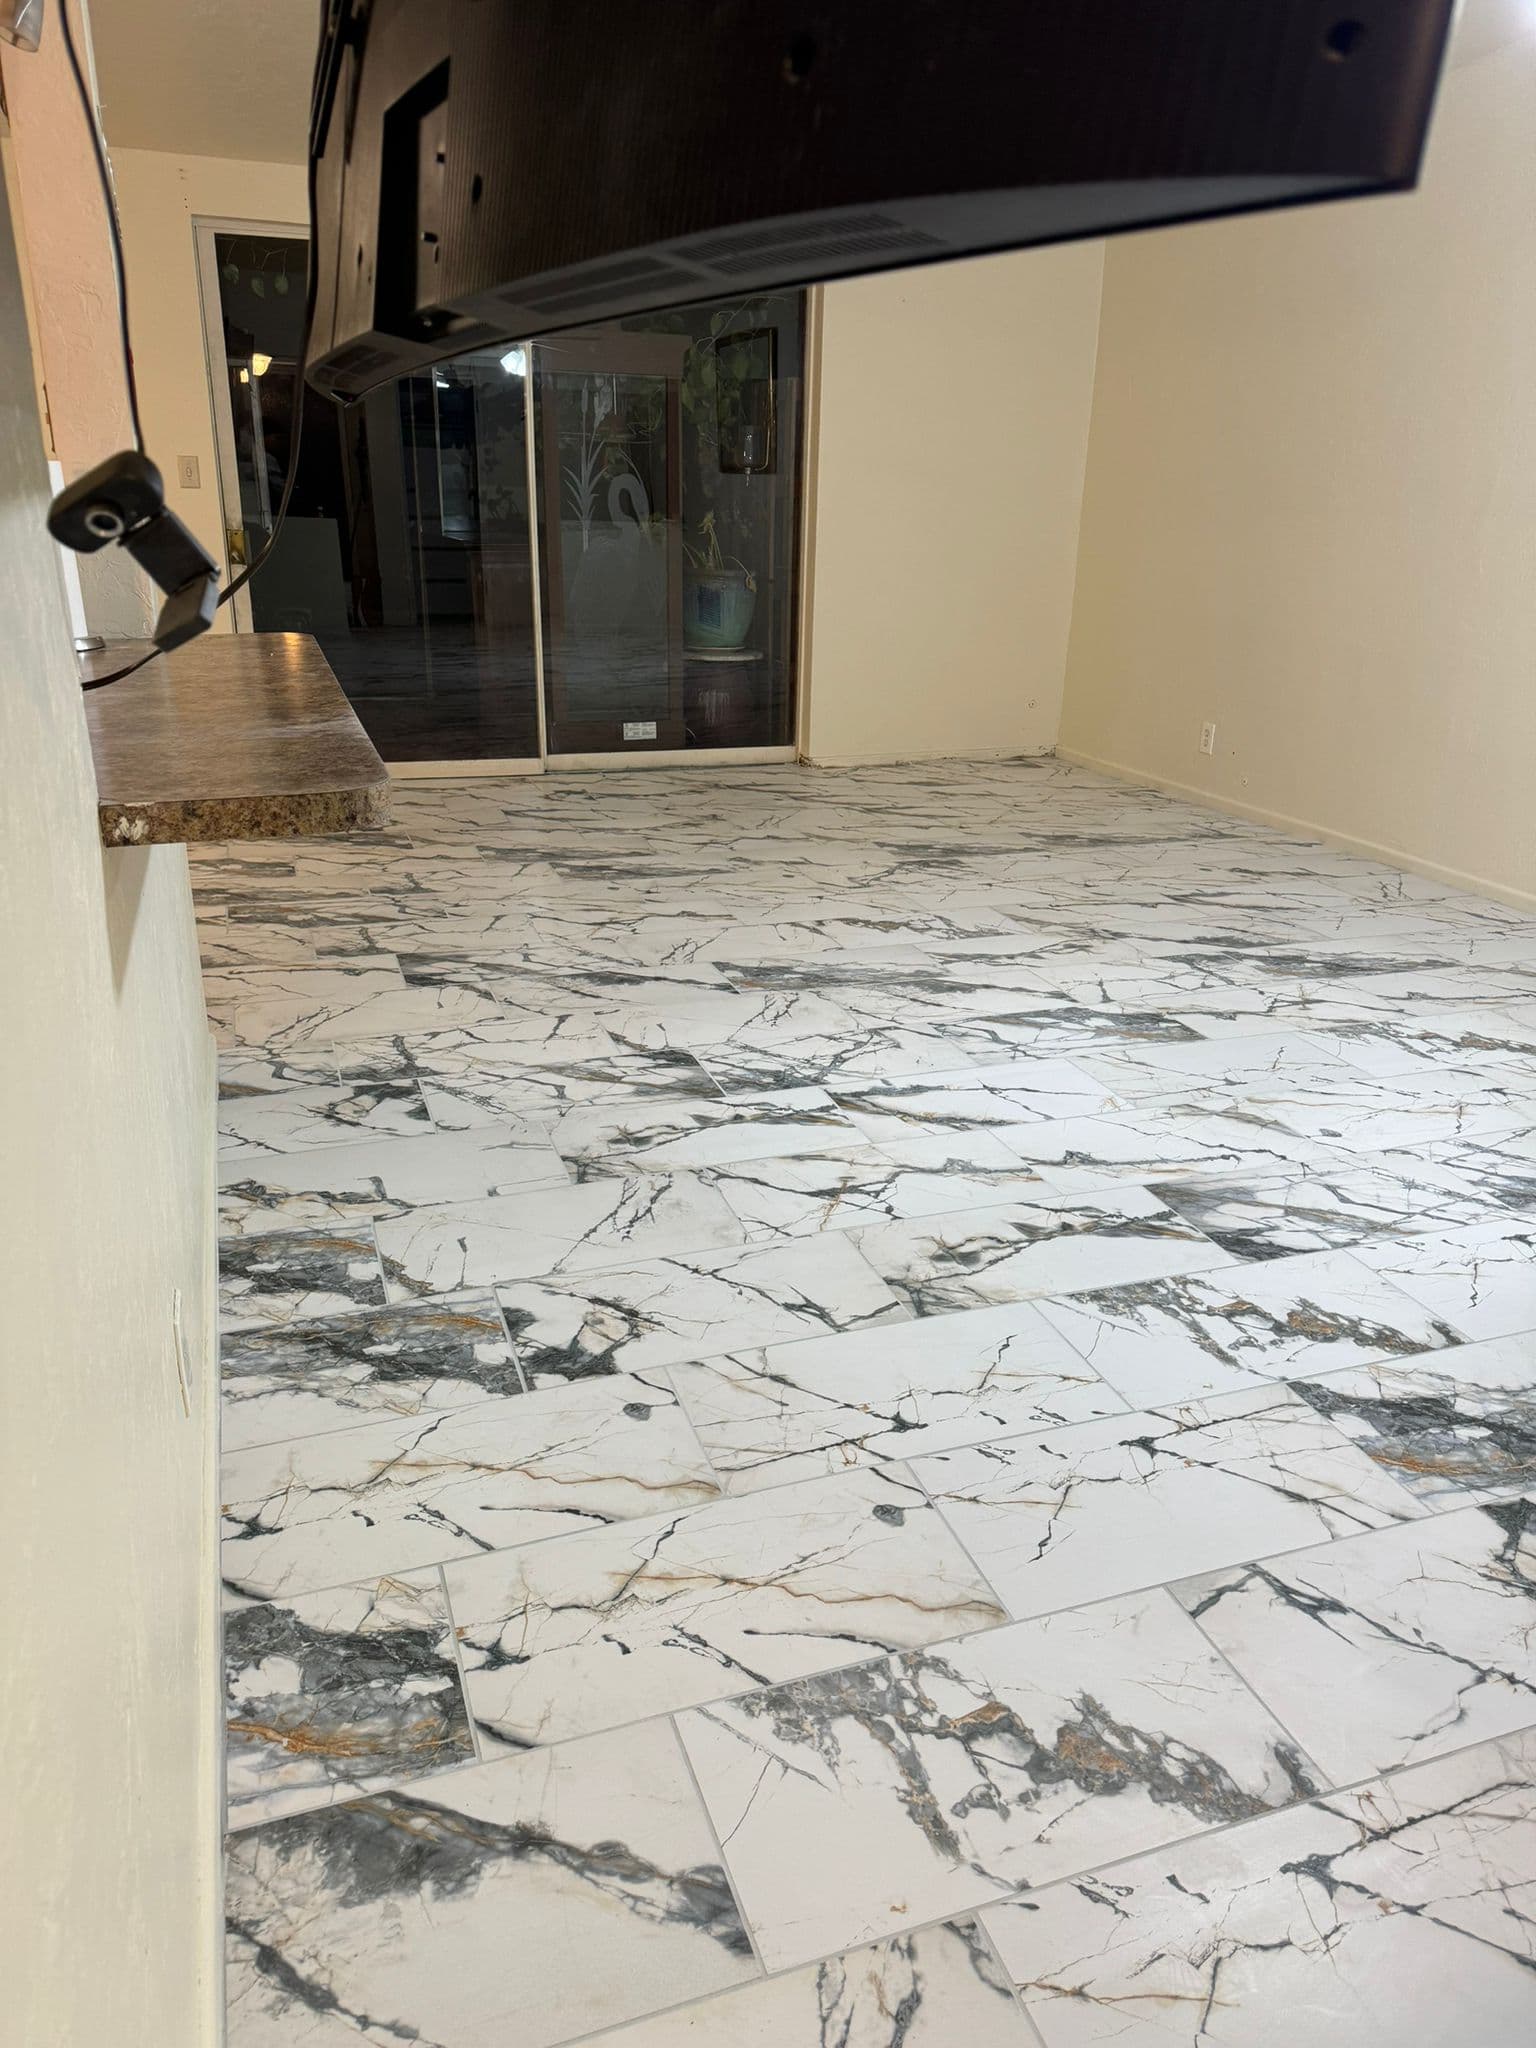
Every floor replacement starts with the part nobody talks about - demo. That means busting up the old tile, scraping adhesive off the subfloor, bagging the debris, and getting the surface completely clean and flat before a single new tile goes down. We protected the walls and windows with plastic sheeting and tape, kept dust contained, and worked the subfloor down to bare concrete so the new installation would have a solid foundation to bond to.
Here's the thing about skipping steps during demo - it always shows up later. Tiles crack. Grout pops. Floors go hollow. That's why we take the time to do it right from the start, even when it's the unglamorous part of the job. A proper subfloor prep is what separates a floor that lasts from one that gives you problems in two years.
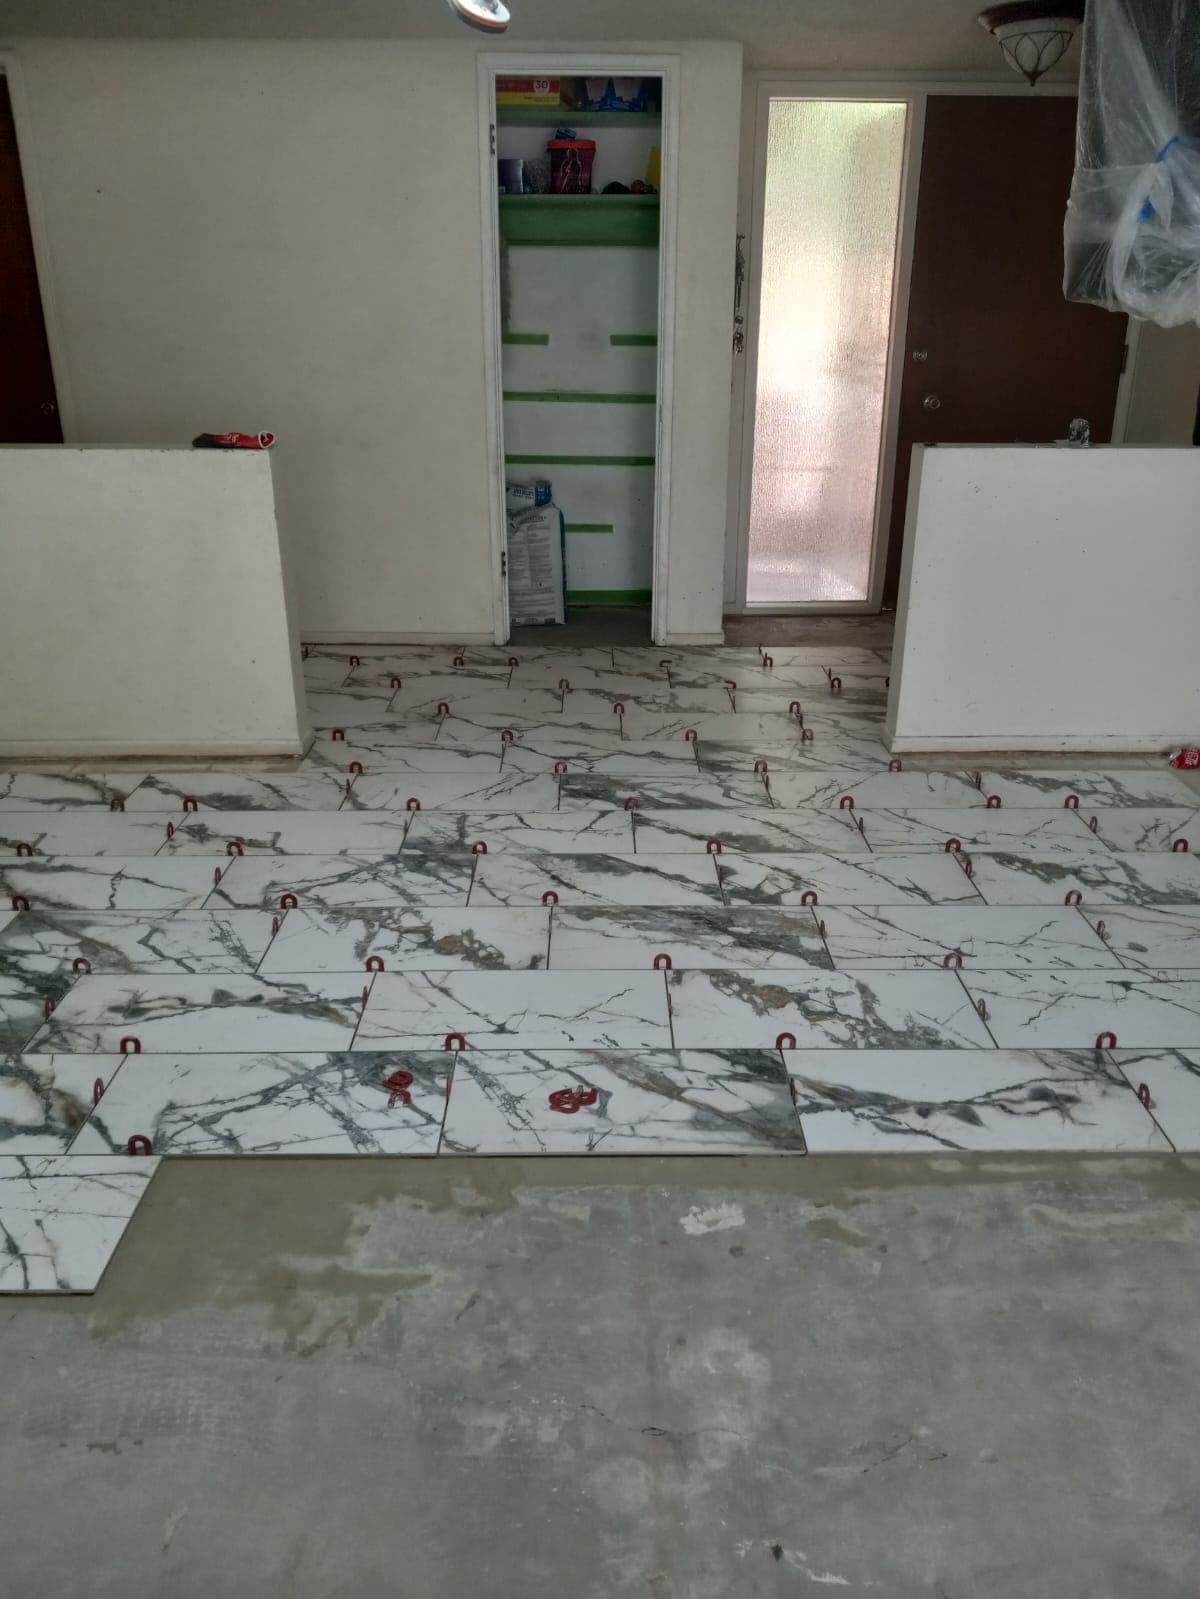
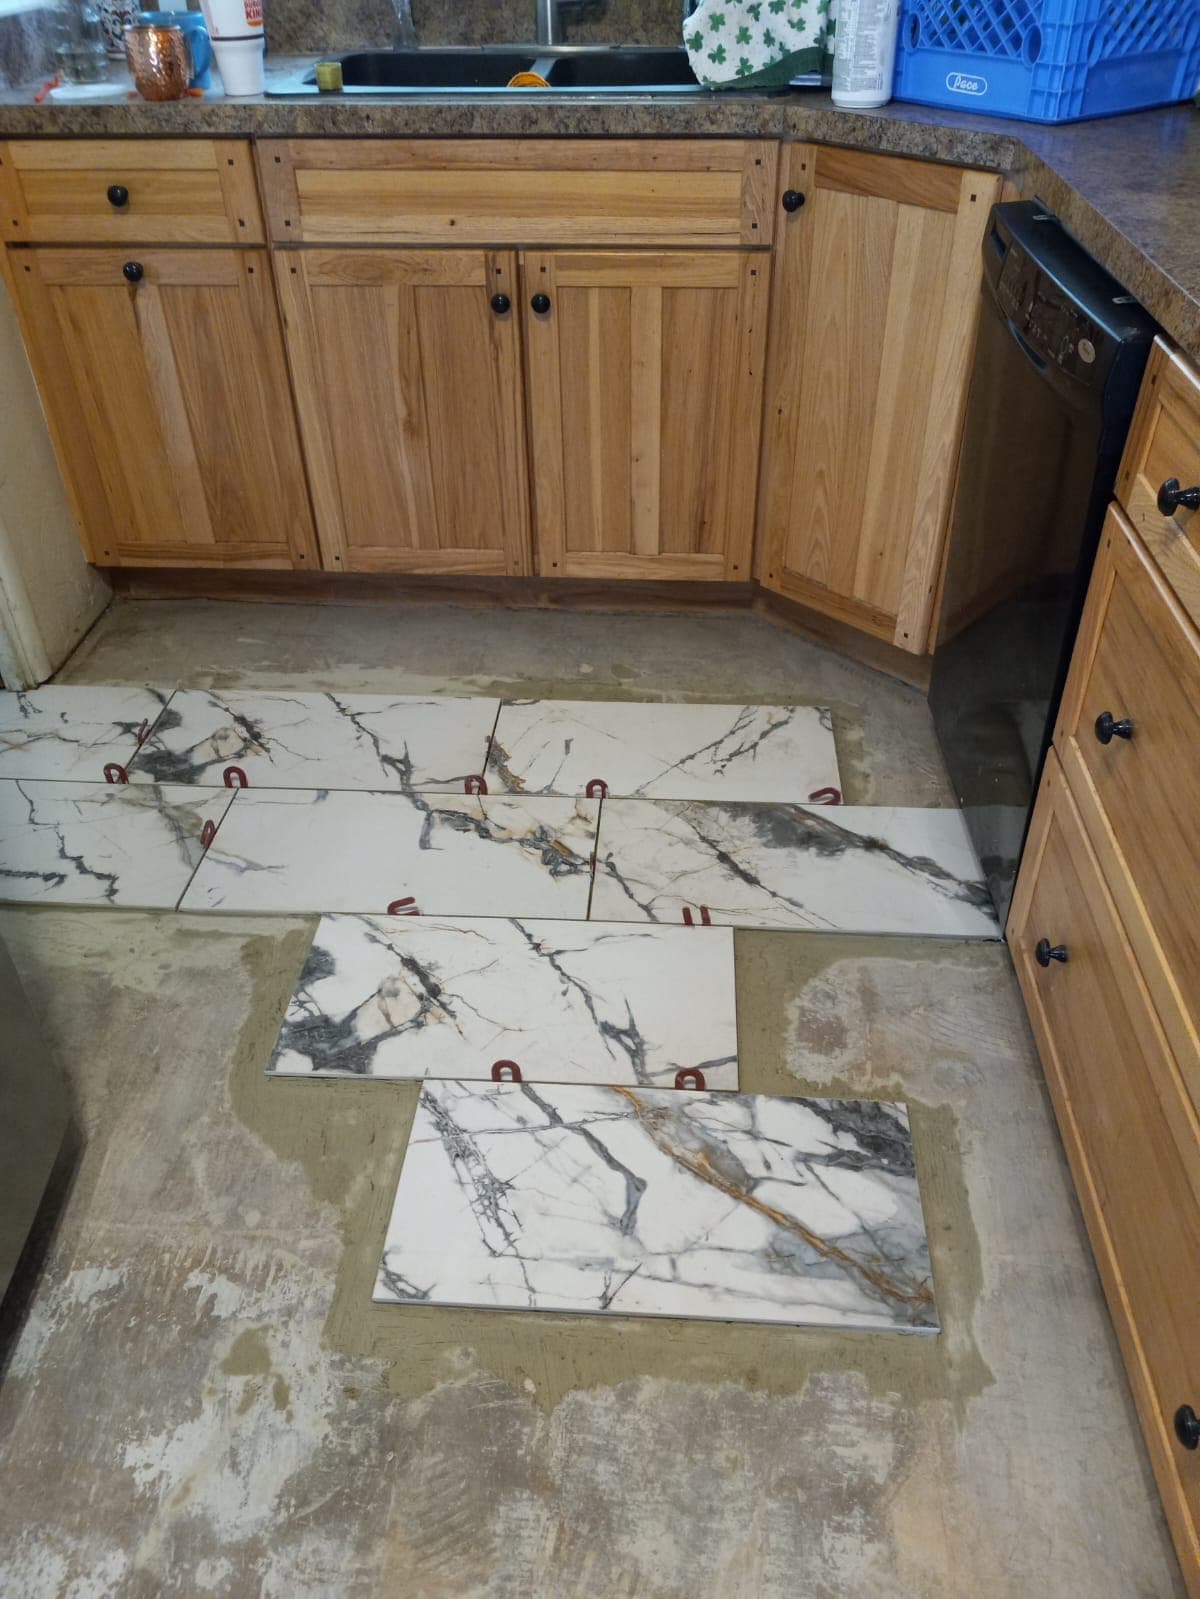
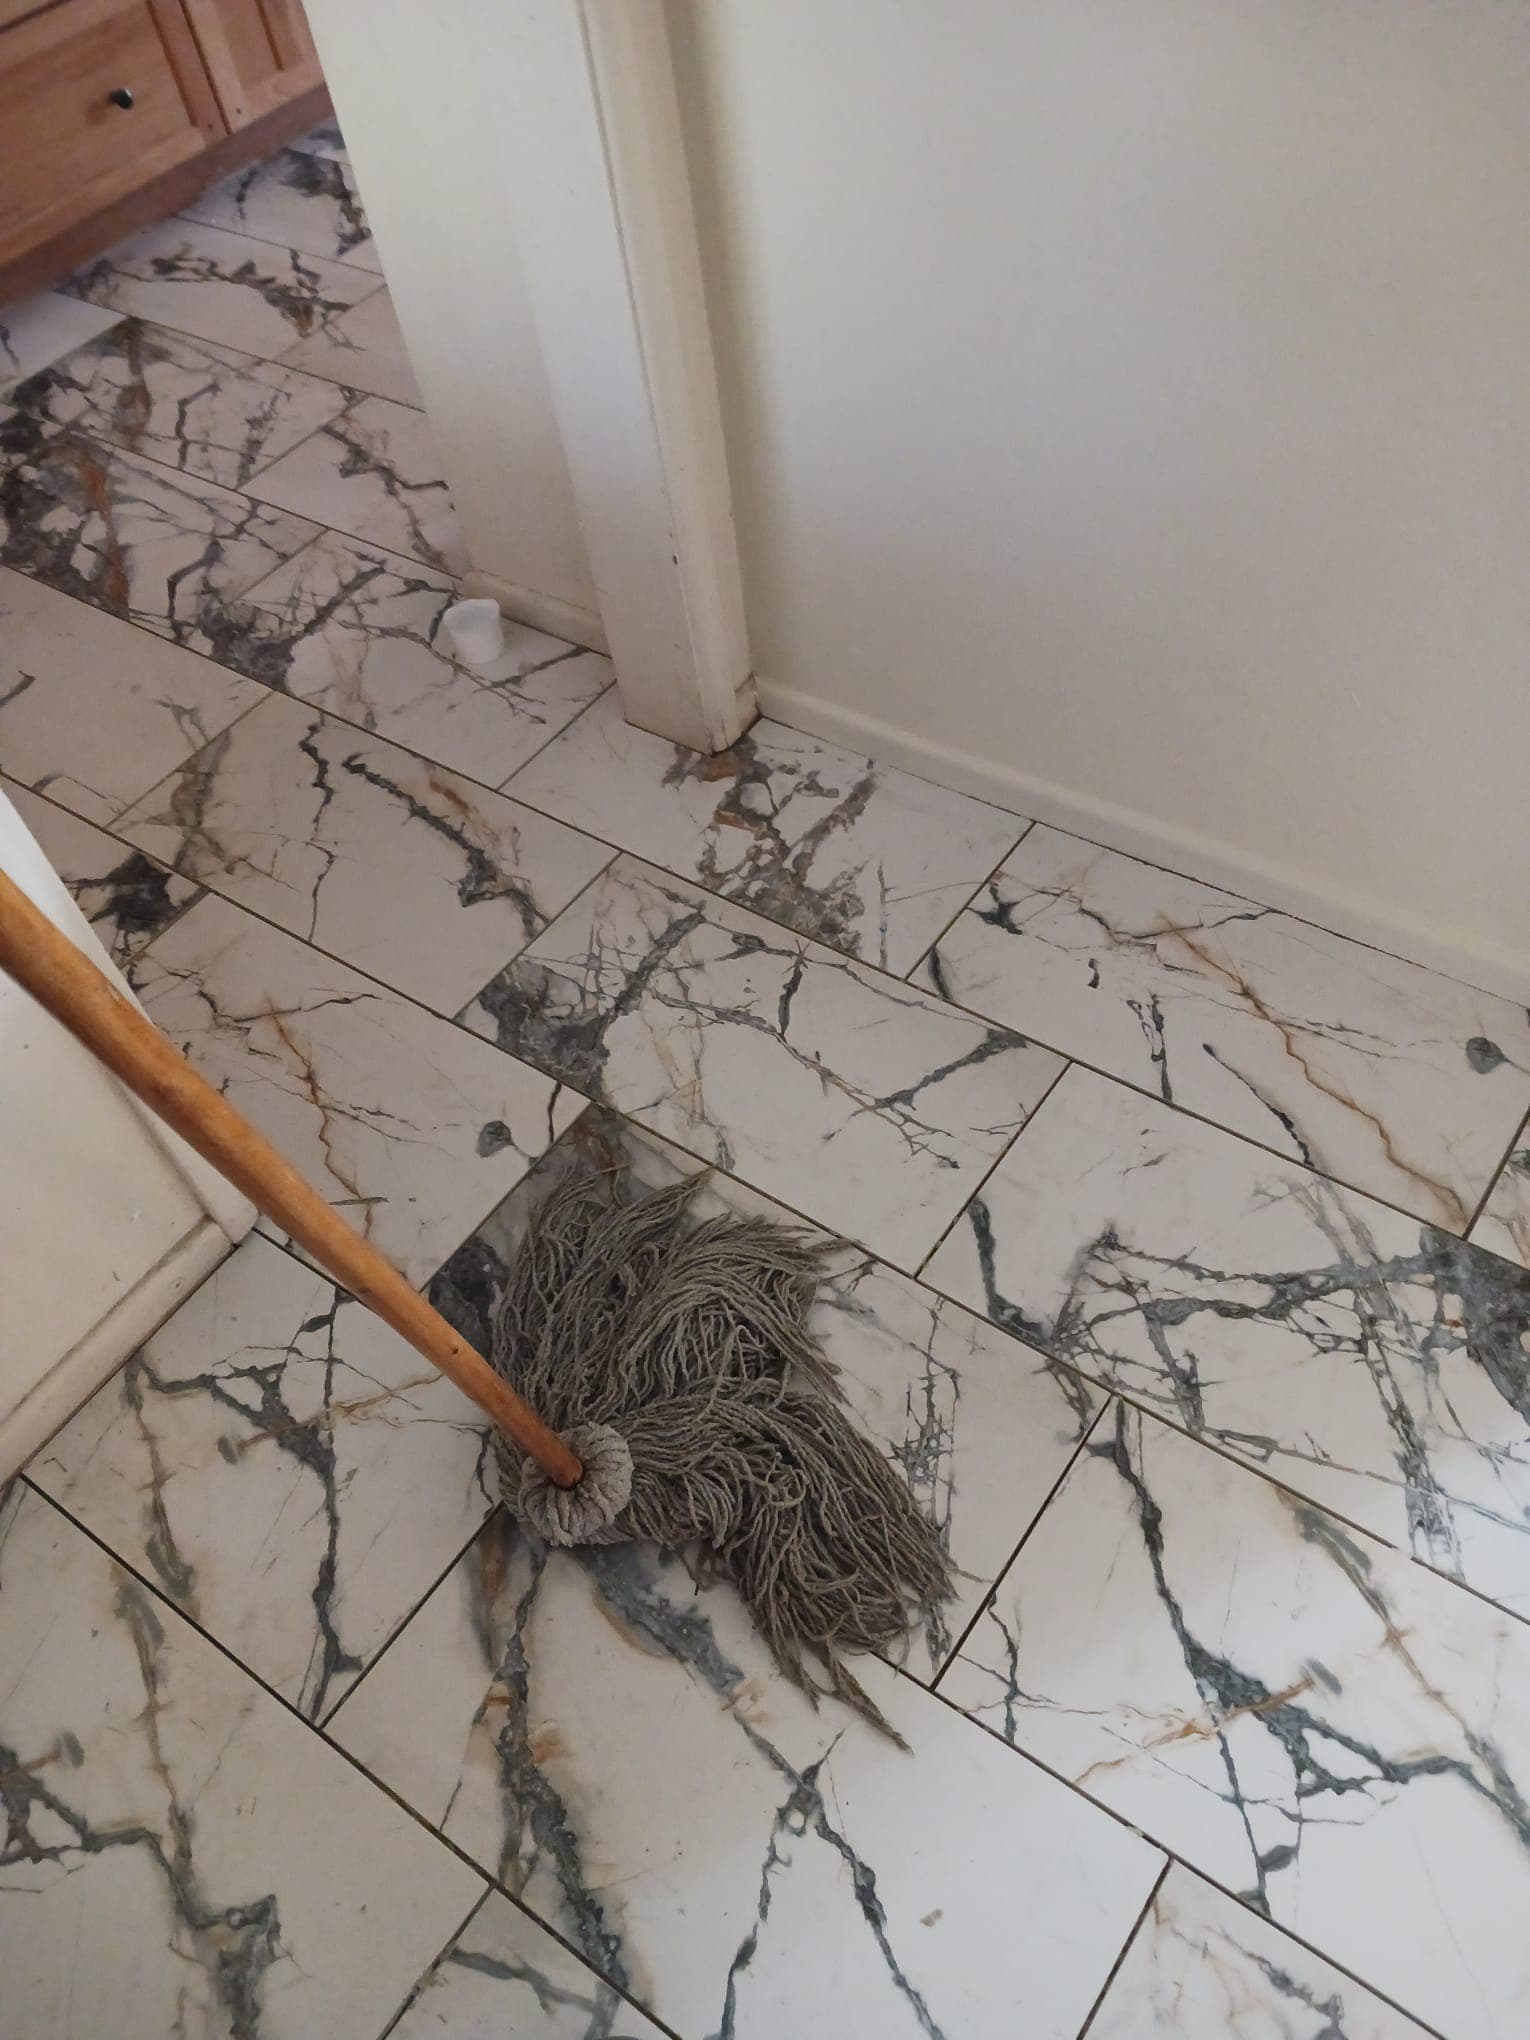
Once the substrate was ready, we got to work laying a marble-look porcelain tile throughout the main living areas, hallway, and kitchen. We used tile leveling clips and wedges across every single tile to keep the floor perfectly flat and the joints consistent. No lippage, no high spots. The tile itself has bold gray and black veining against a white background - the kind of look that used to mean natural stone and a much bigger budget.
What we ended up with is a floor that runs continuously through the kitchen, hallway, and living space - tying the whole home together. That kind of cohesion makes a house feel bigger and more intentional. The referrals this job brought in say a lot about what the finished product looked like in person. We don't cut corners to finish faster, and results like this are exactly why.
Good flooring installation is one of those things where the quality of the work lives in the details - the prep, the layout, the leveling. We take that seriously on every job, whether it's a single room or a whole house.