Bathroom Rebuild After Category 3 Water Damage
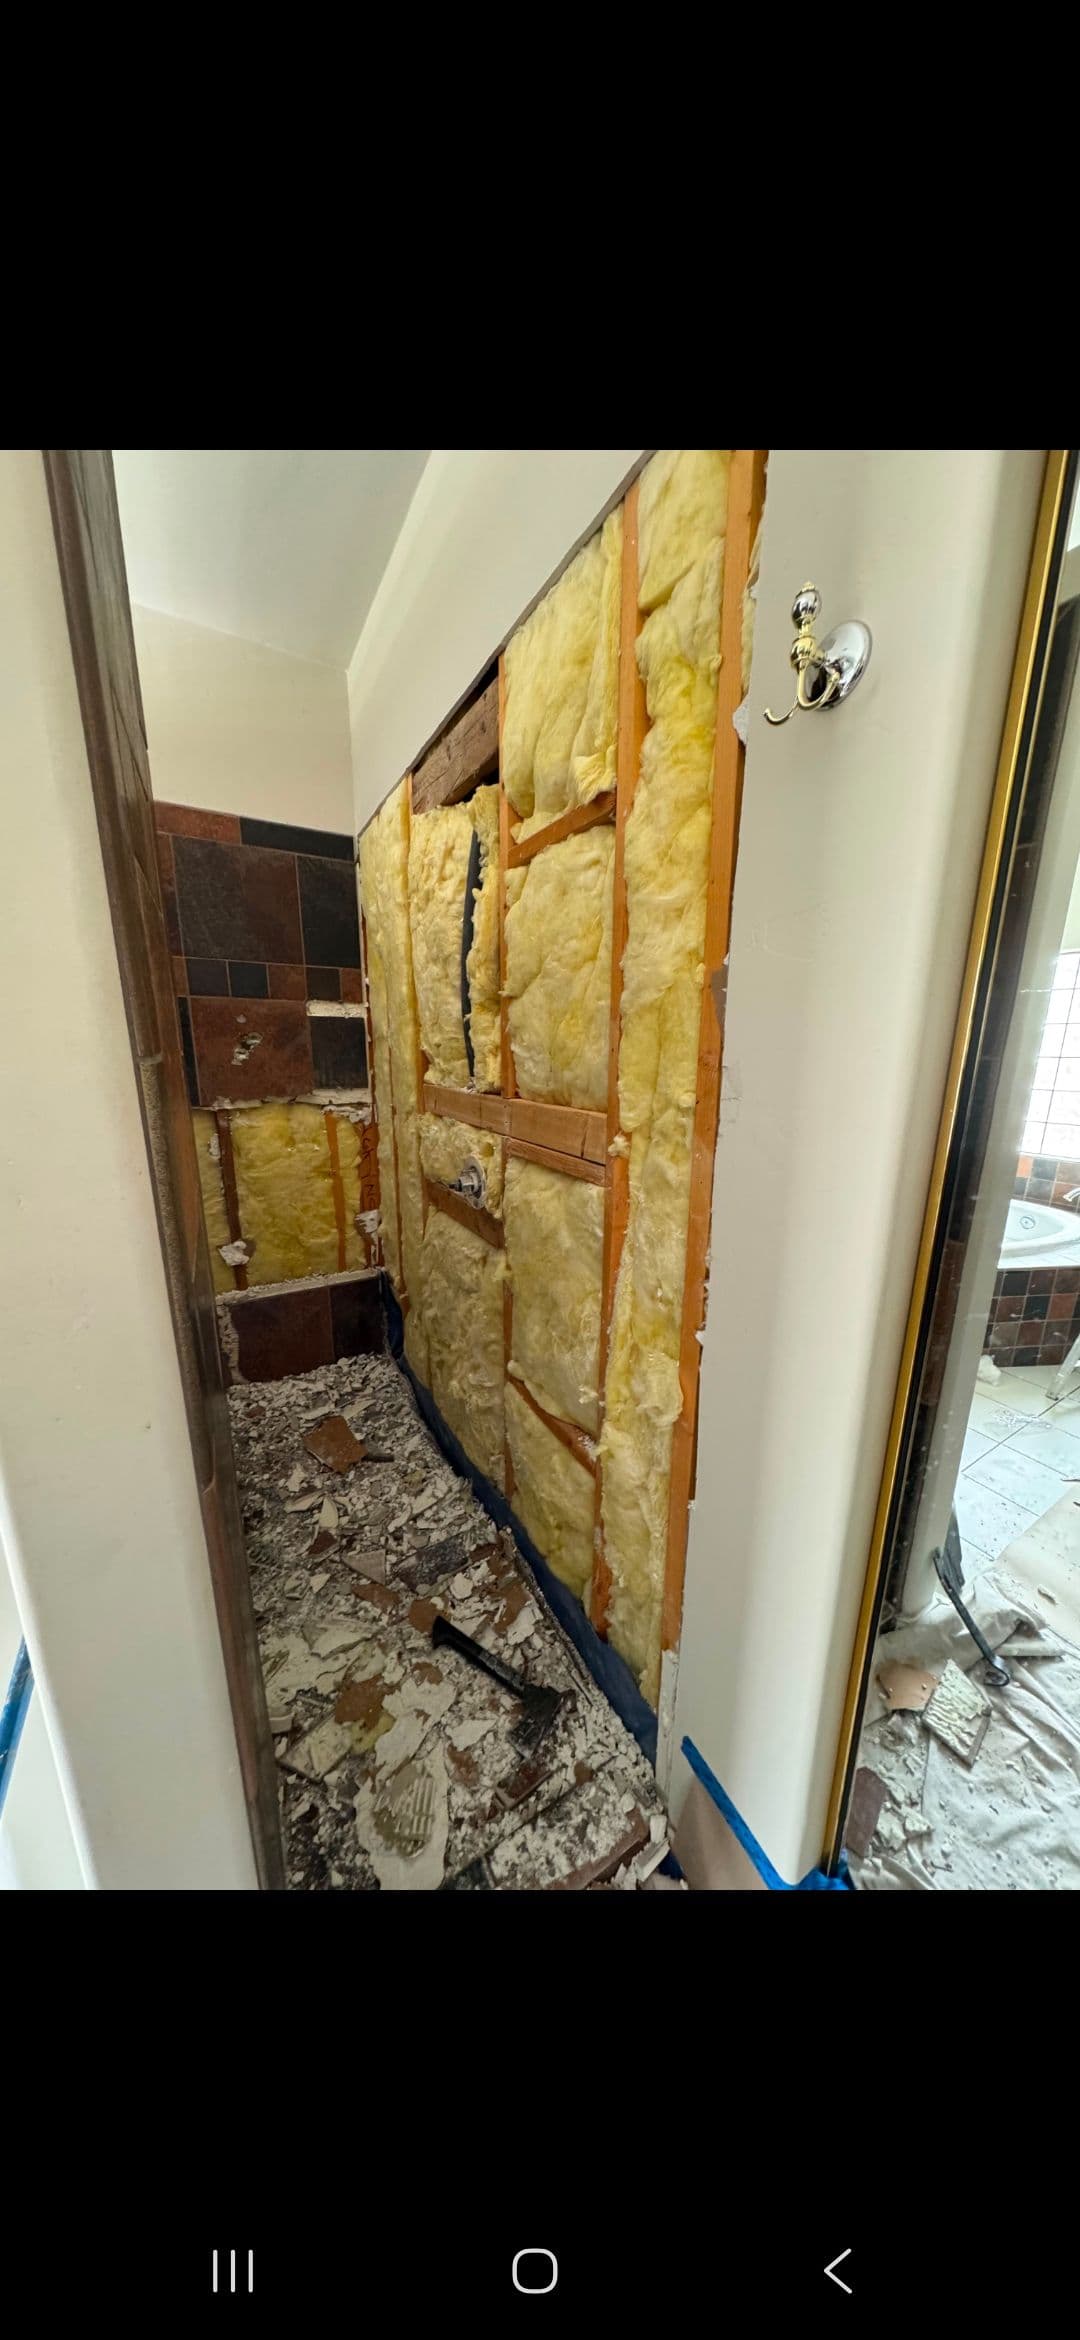
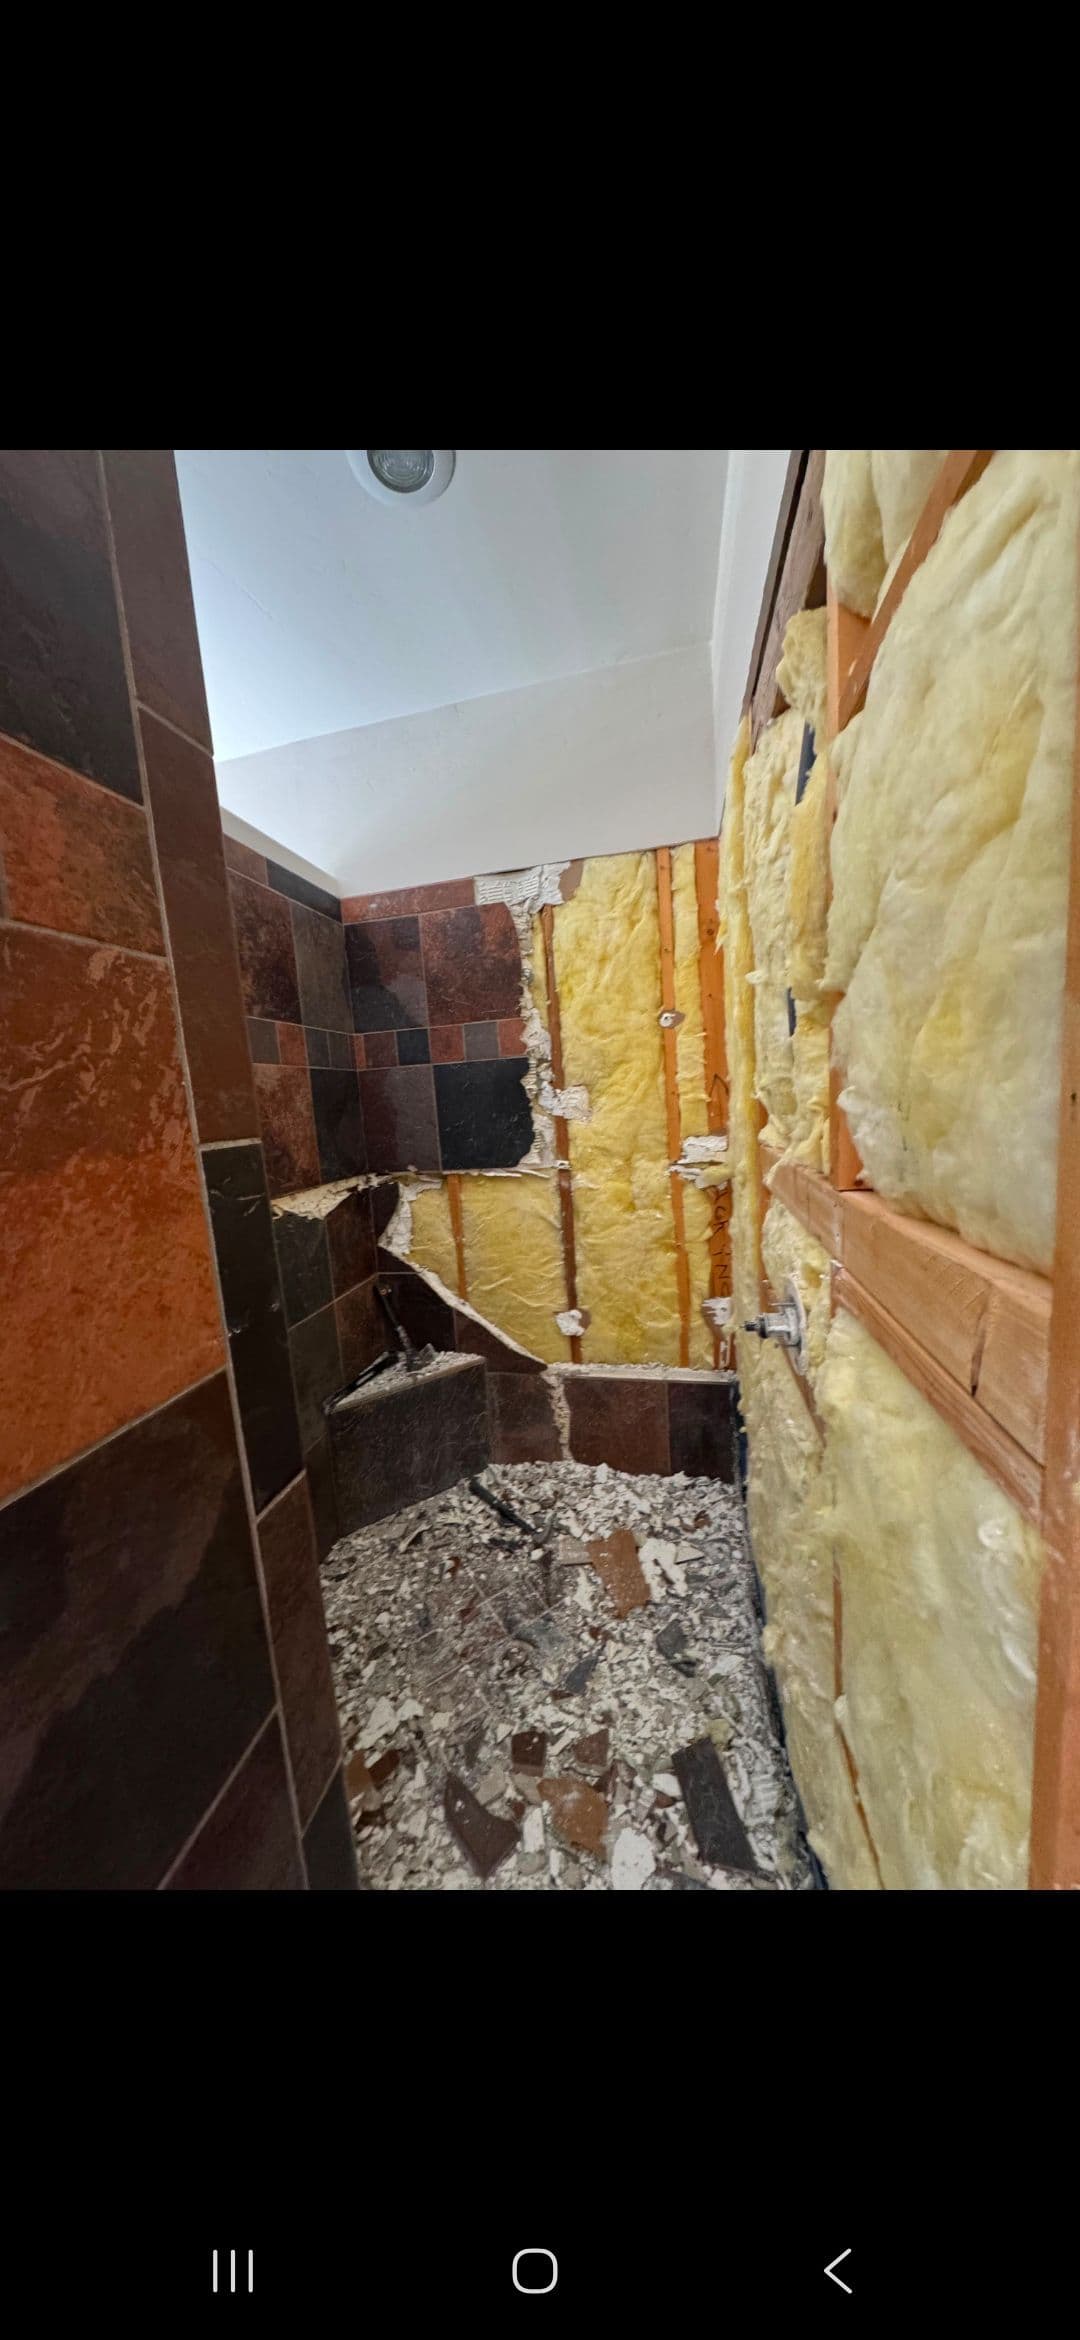
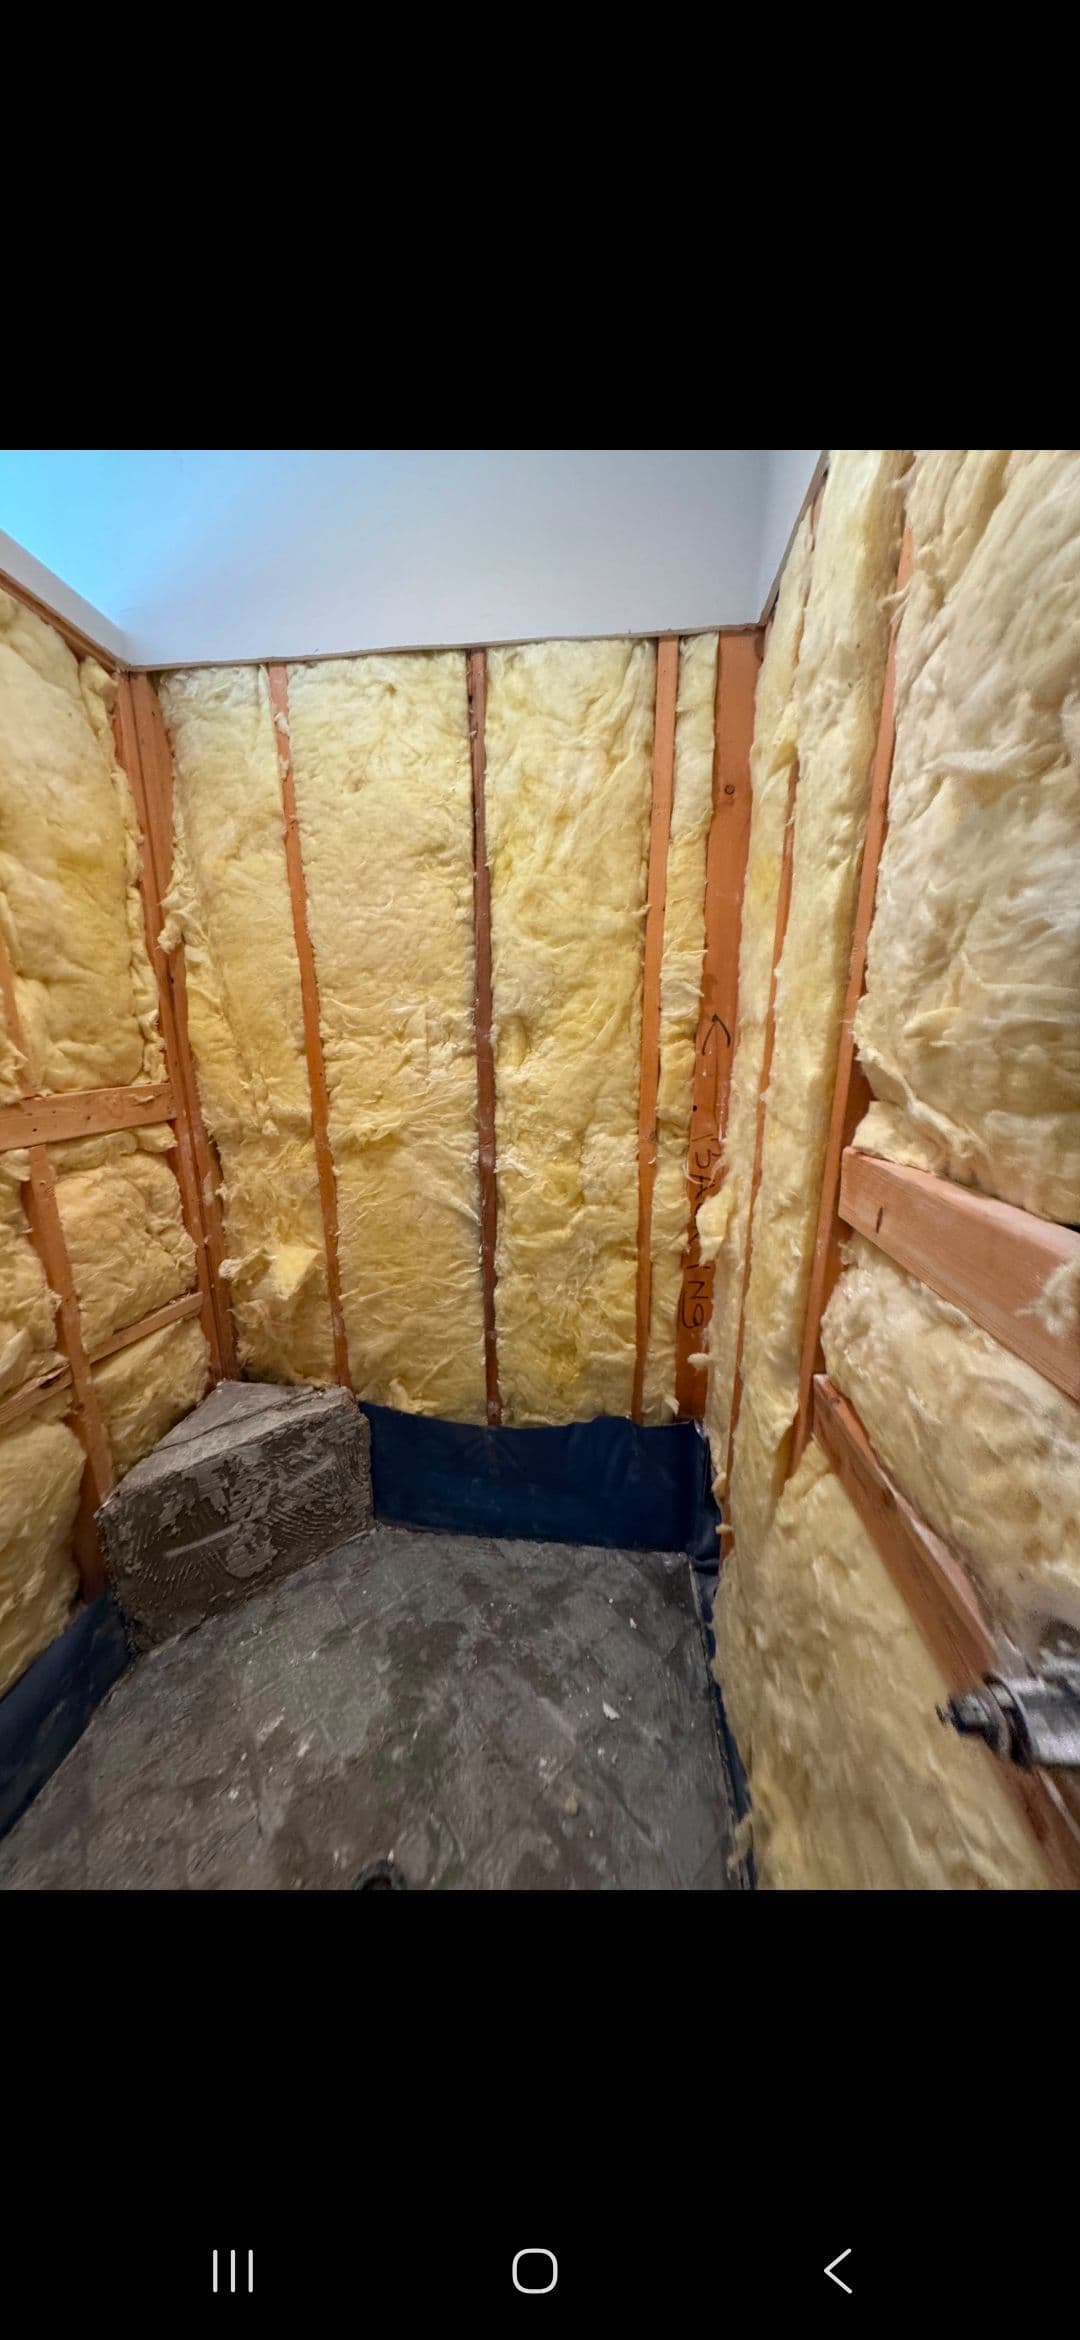
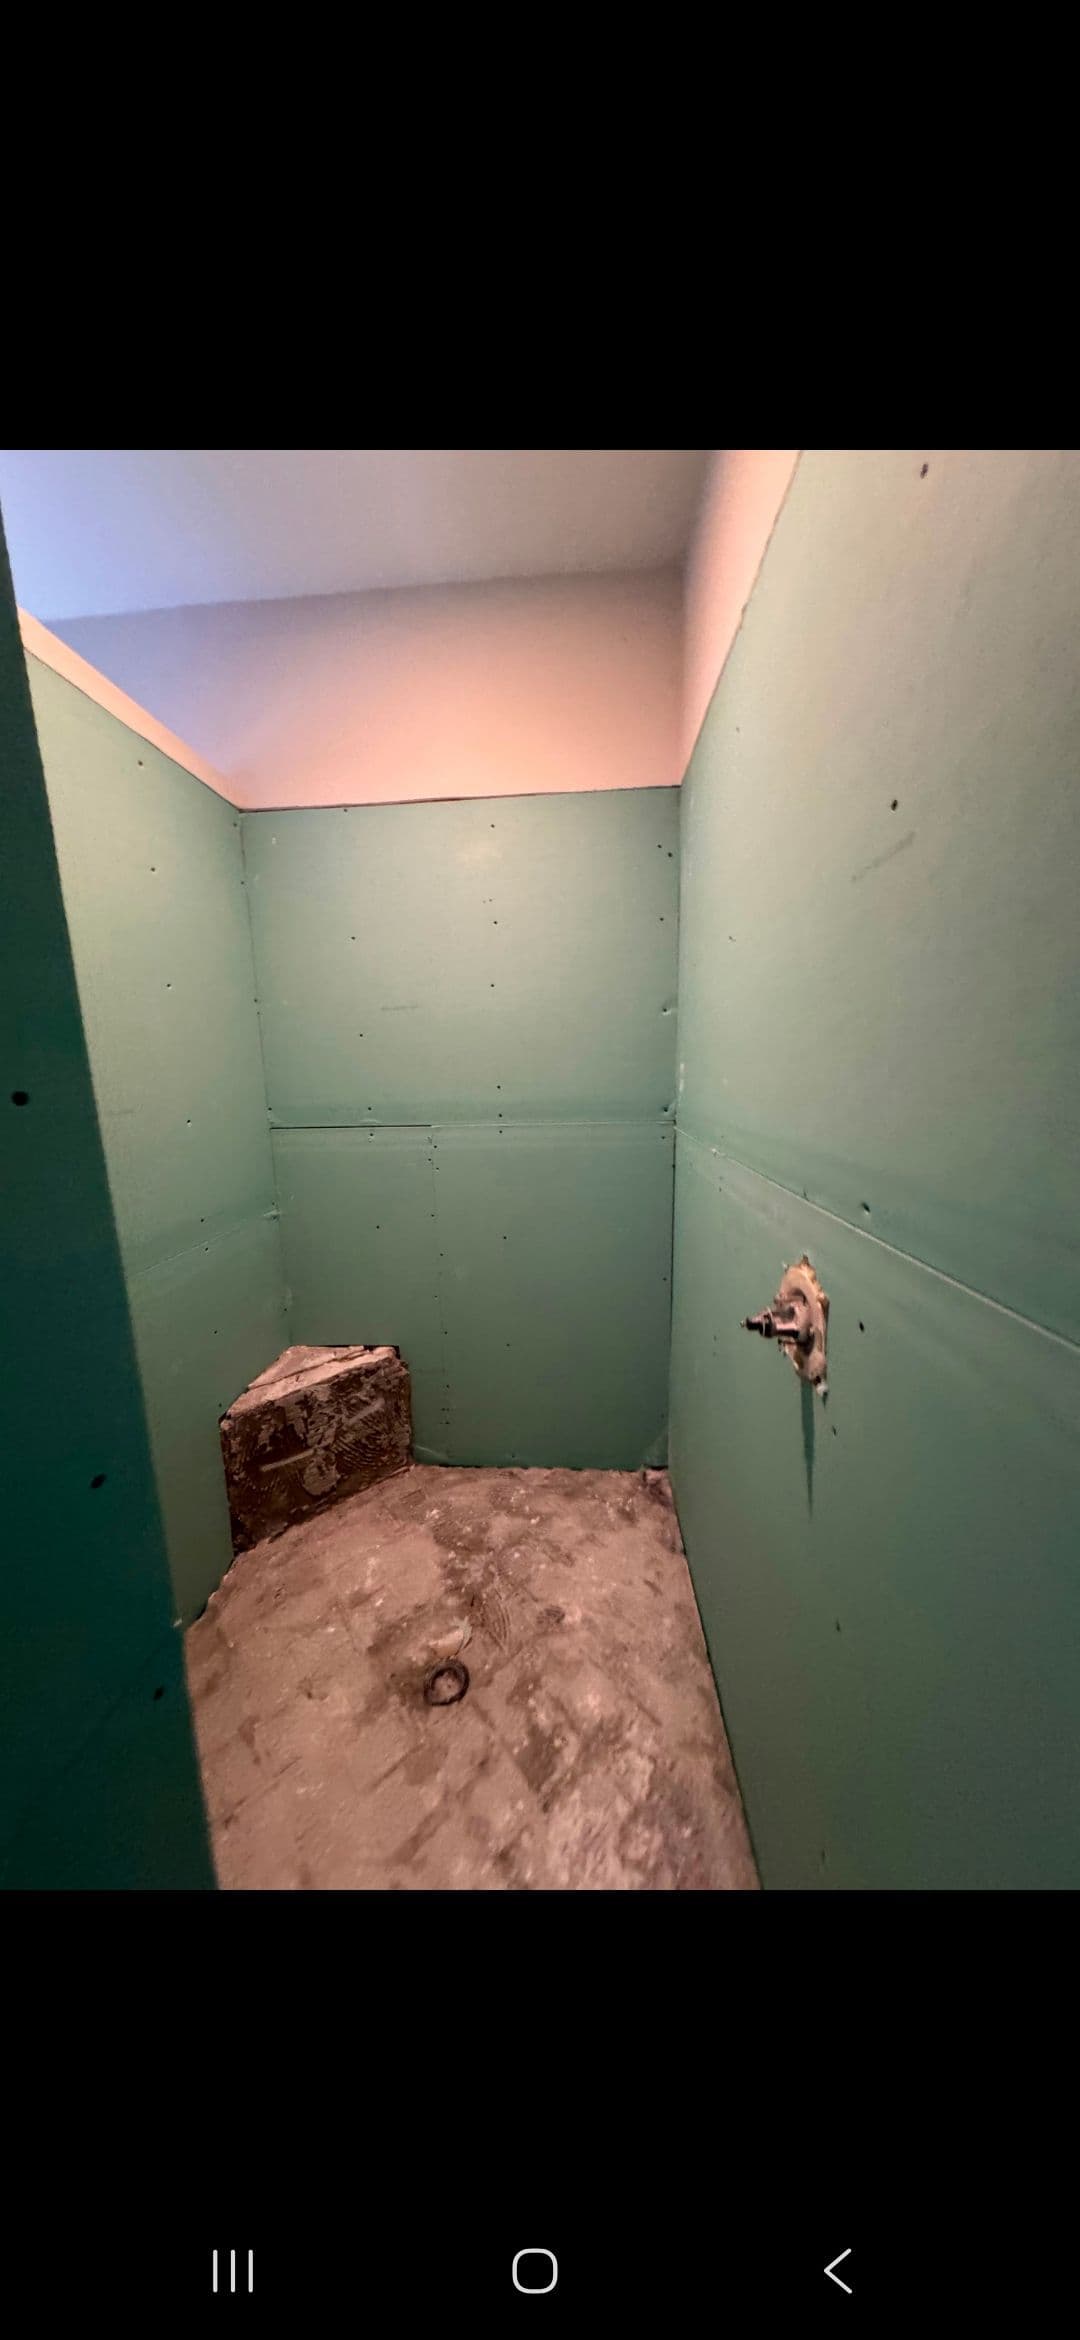
Category 3 water damage is about as bad as it gets. We're talking contaminated water - the kind that soaks into drywall, insulation, and subfloor fast. When that happens in a shower or bathroom, you can't just dry it out and patch things up. Everything compromised has to come out.
That's exactly where this project started. The demo phase tells the real story - stripped walls down to the studs, insulation pulled, tile and debris cleared out. Once we got everything exposed, we could see the full scope of what the water had done. No guessing, no hiding problems behind fresh tile. We built back from a clean, honest starting point.
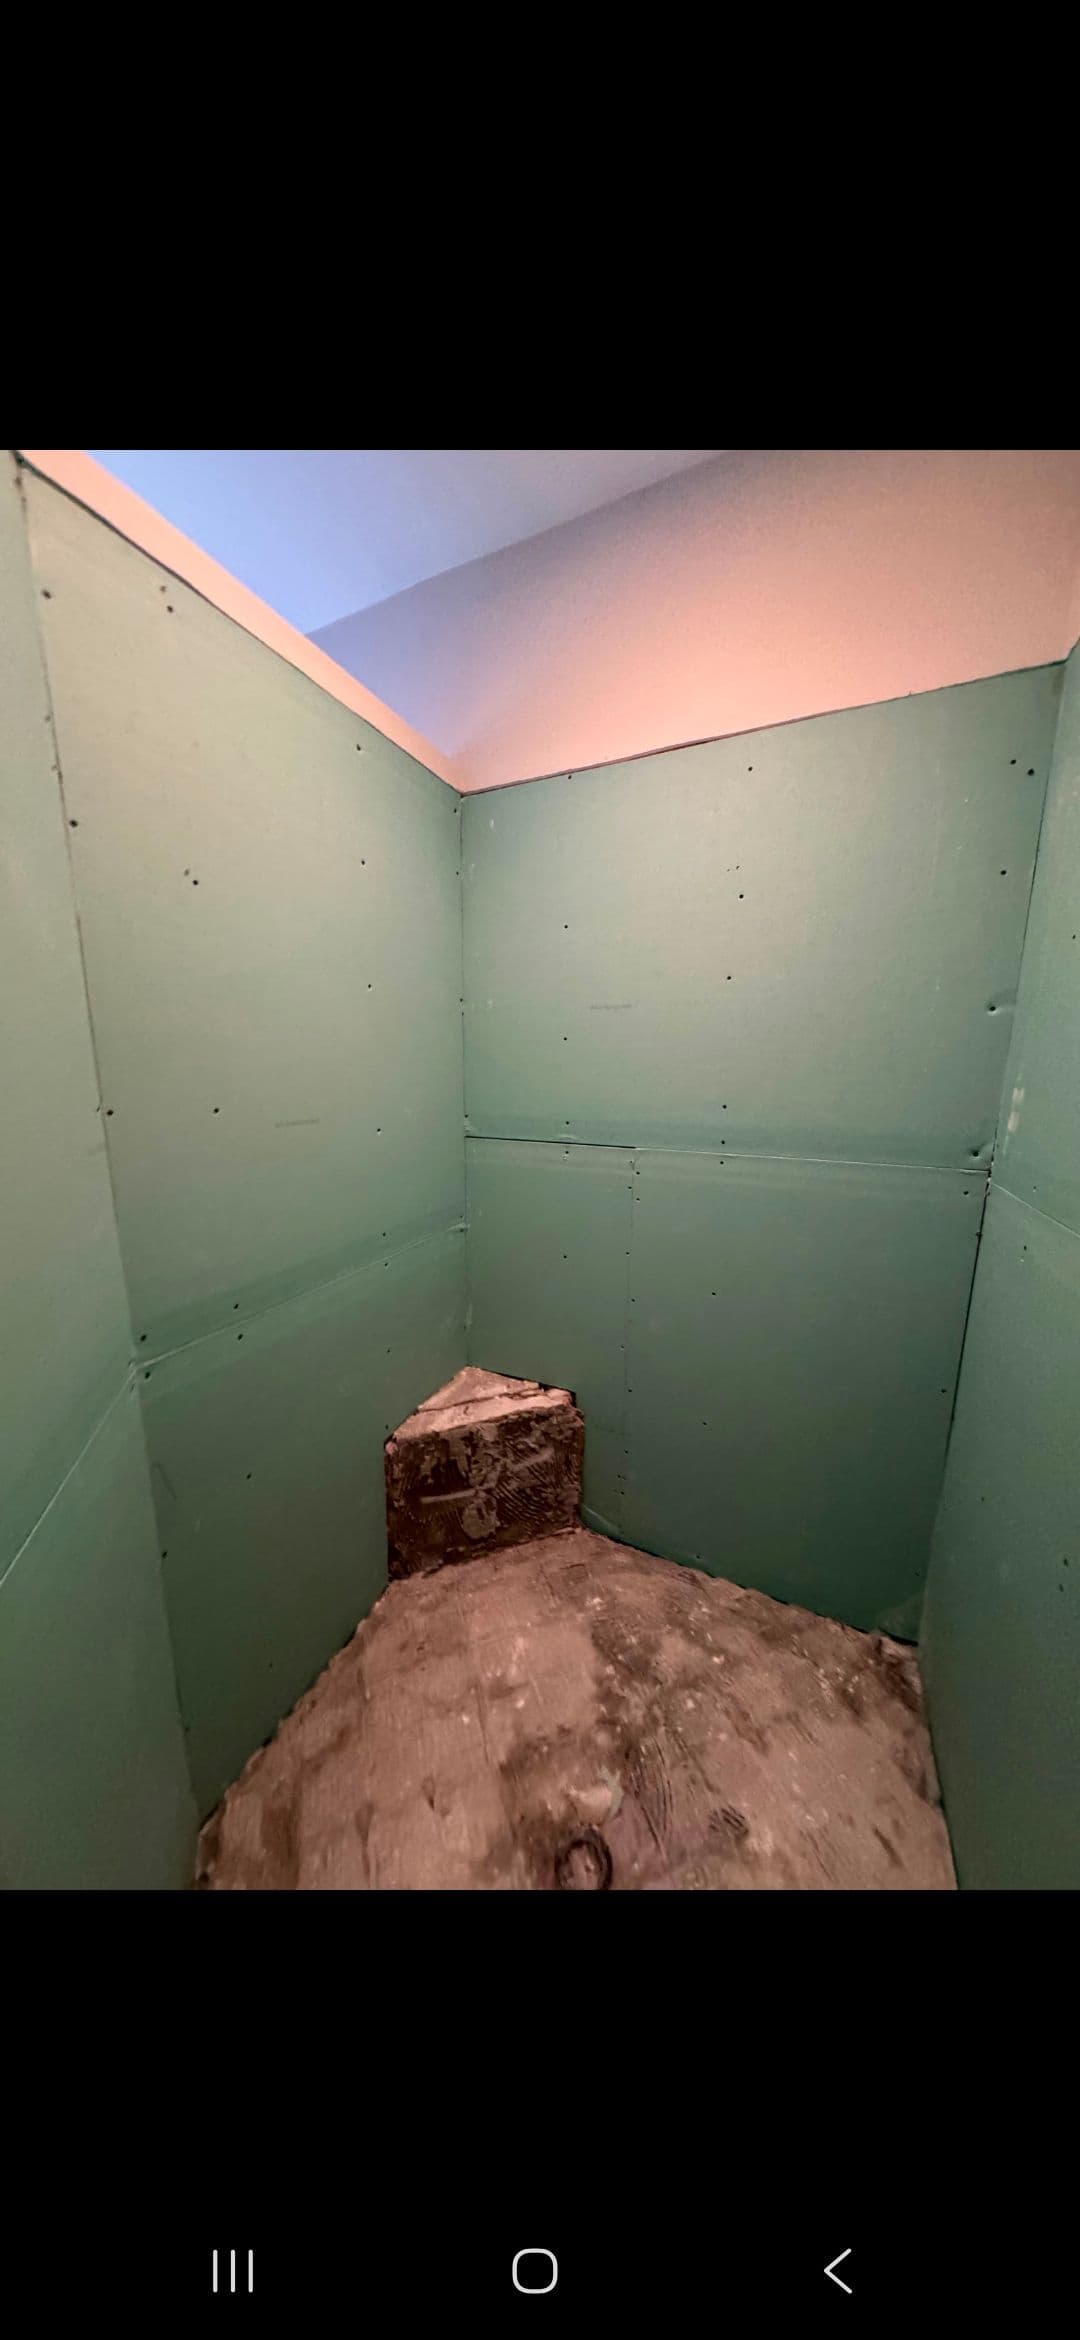
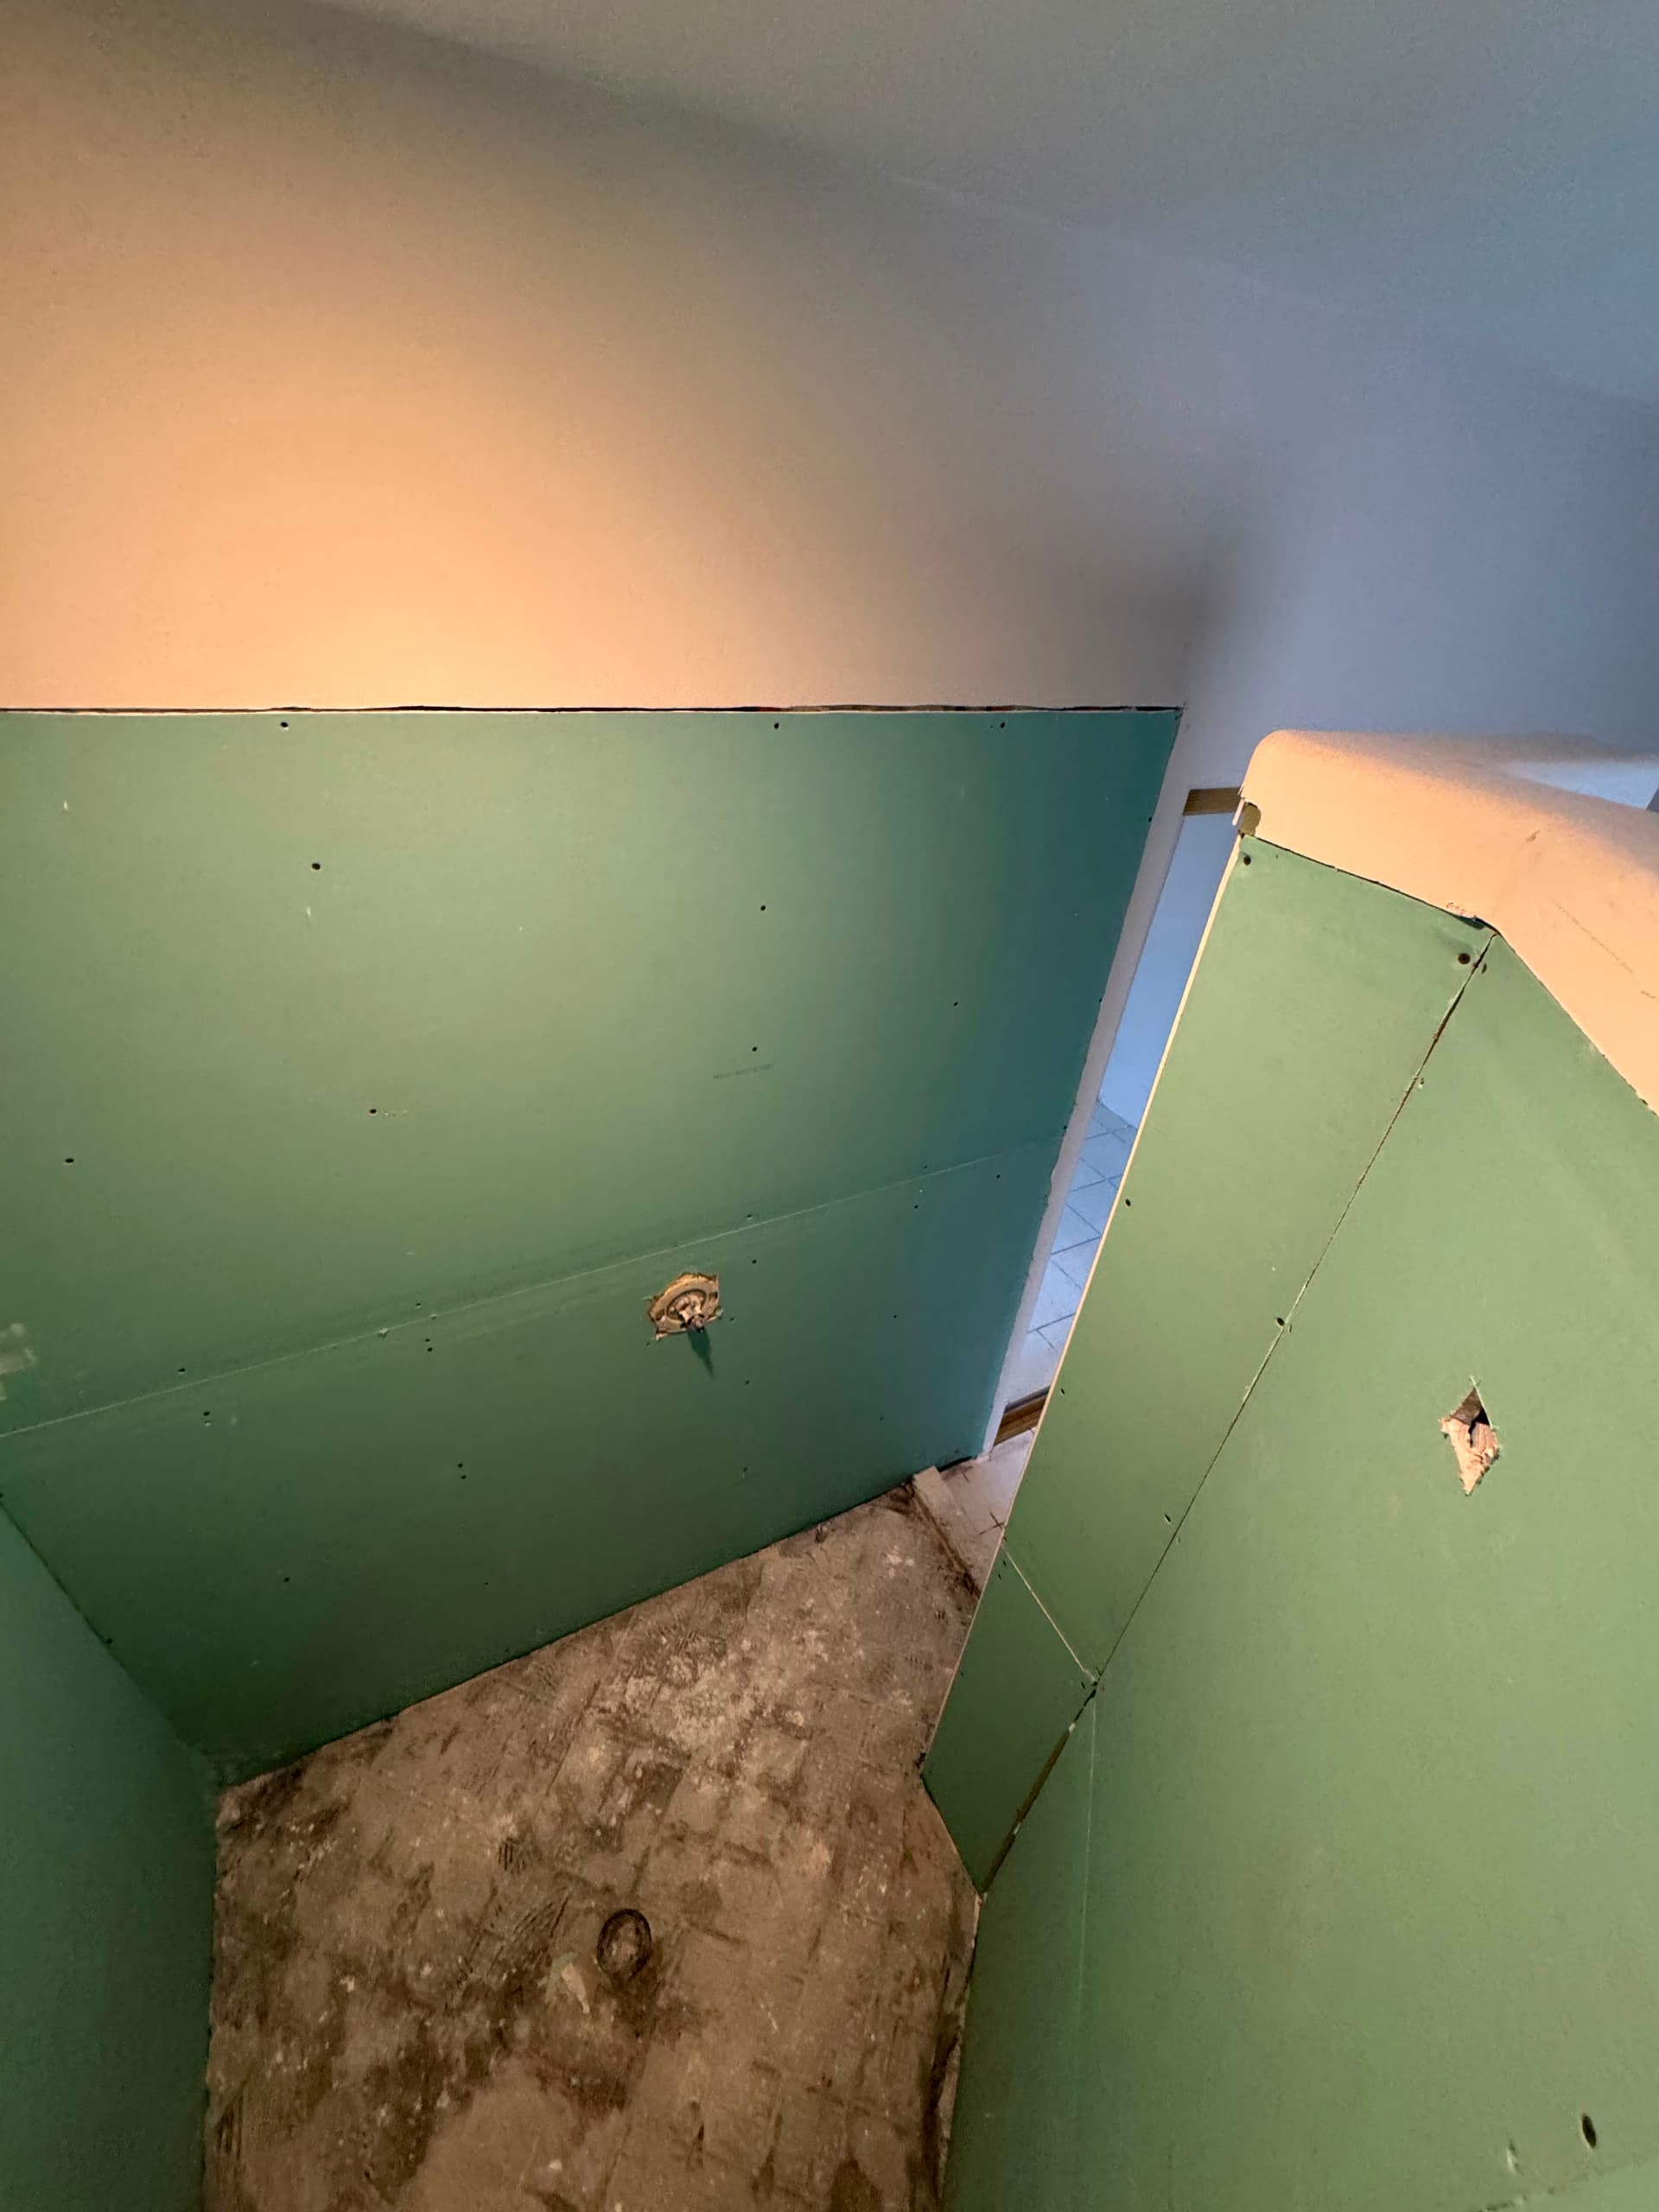
After demo, we installed moisture-resistant cement board throughout the shower enclosure - the right backer for a wet area. That's the step a lot of people don't think about, but it's what actually keeps a shower watertight for the long haul. Skipping it or going cheap here is how you end up back at square one in a few years.
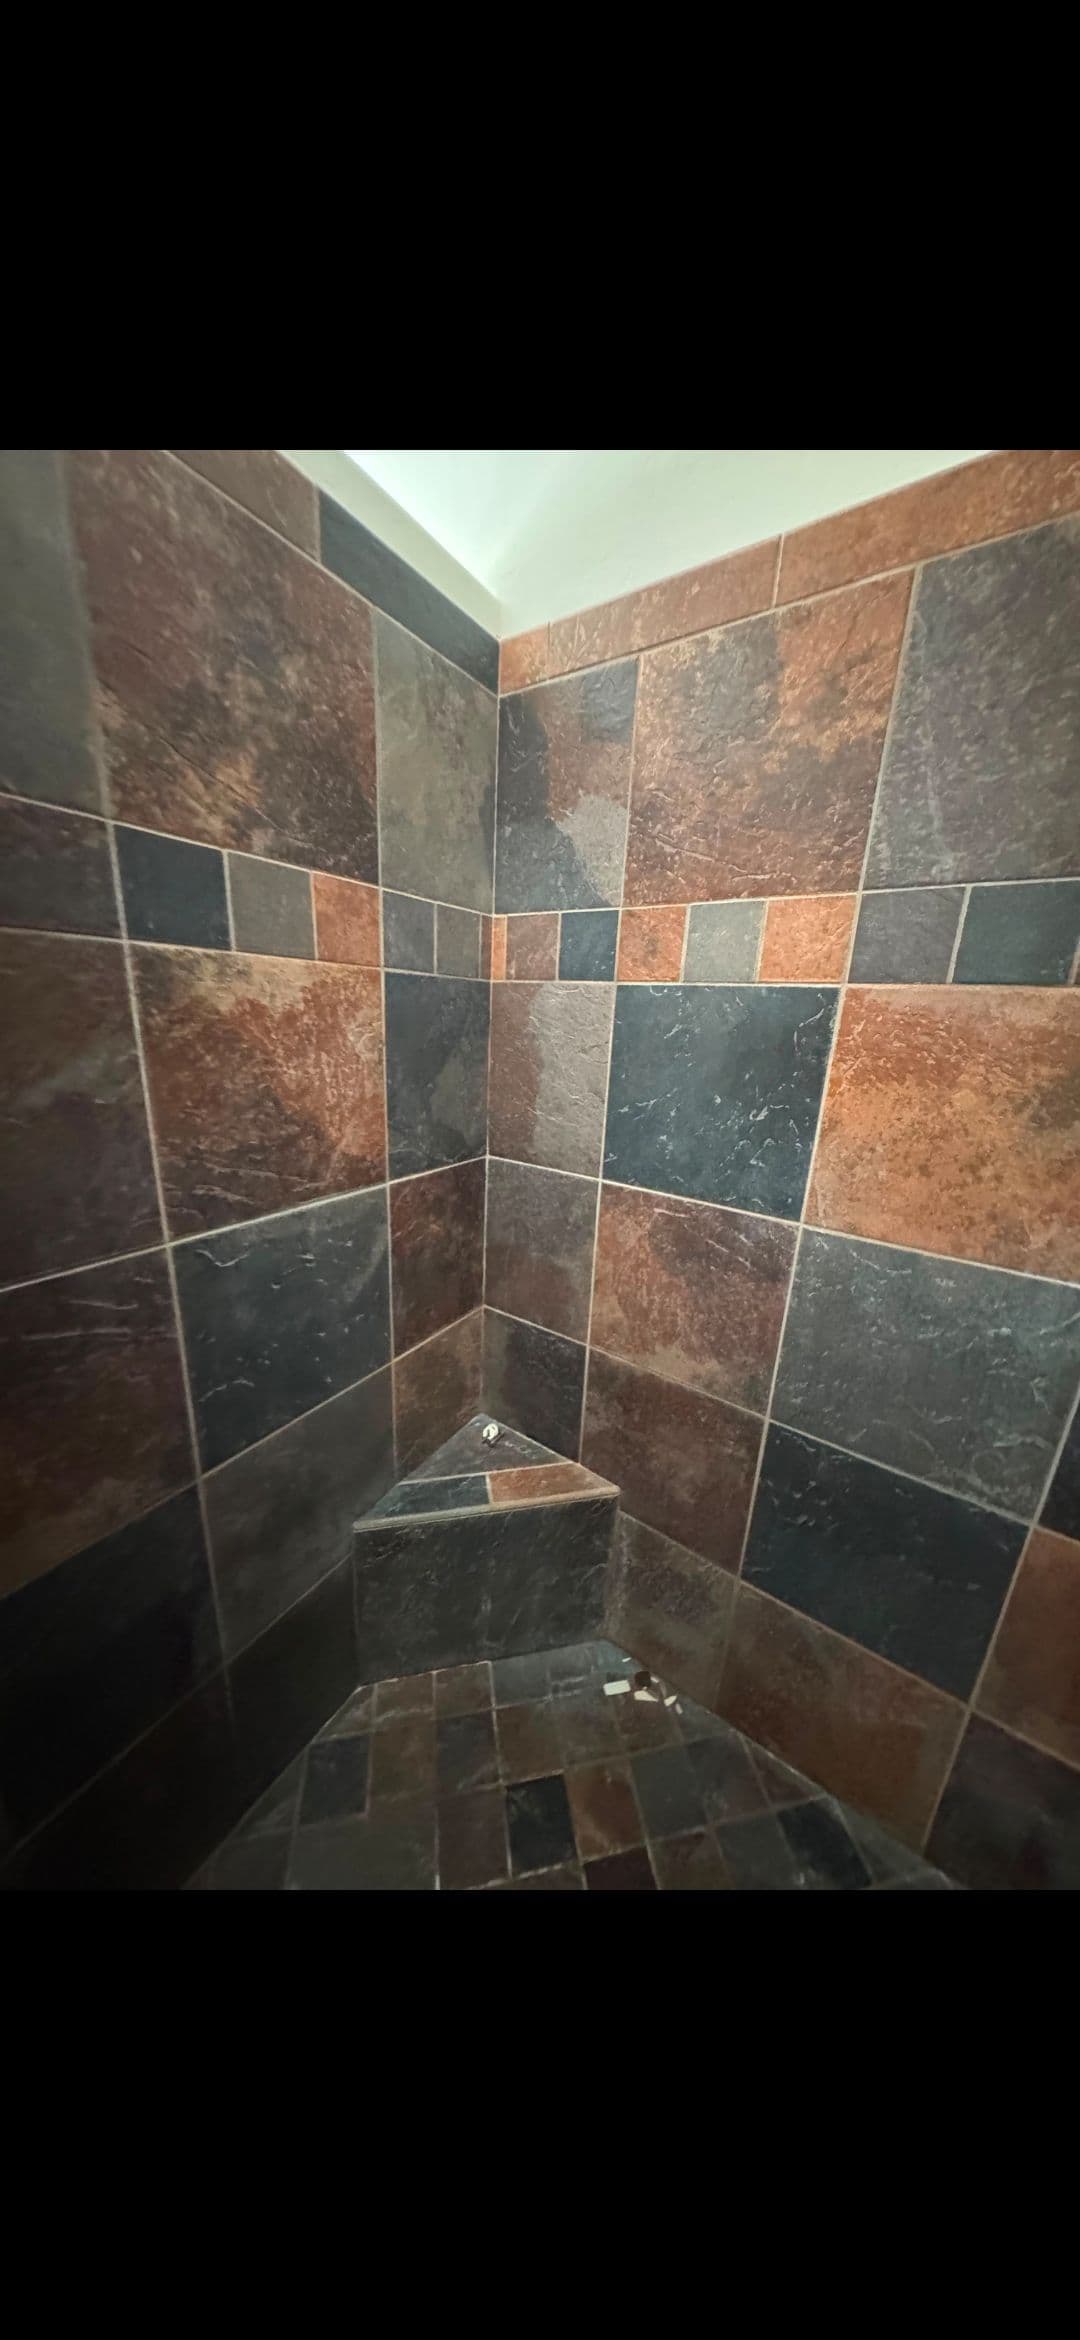
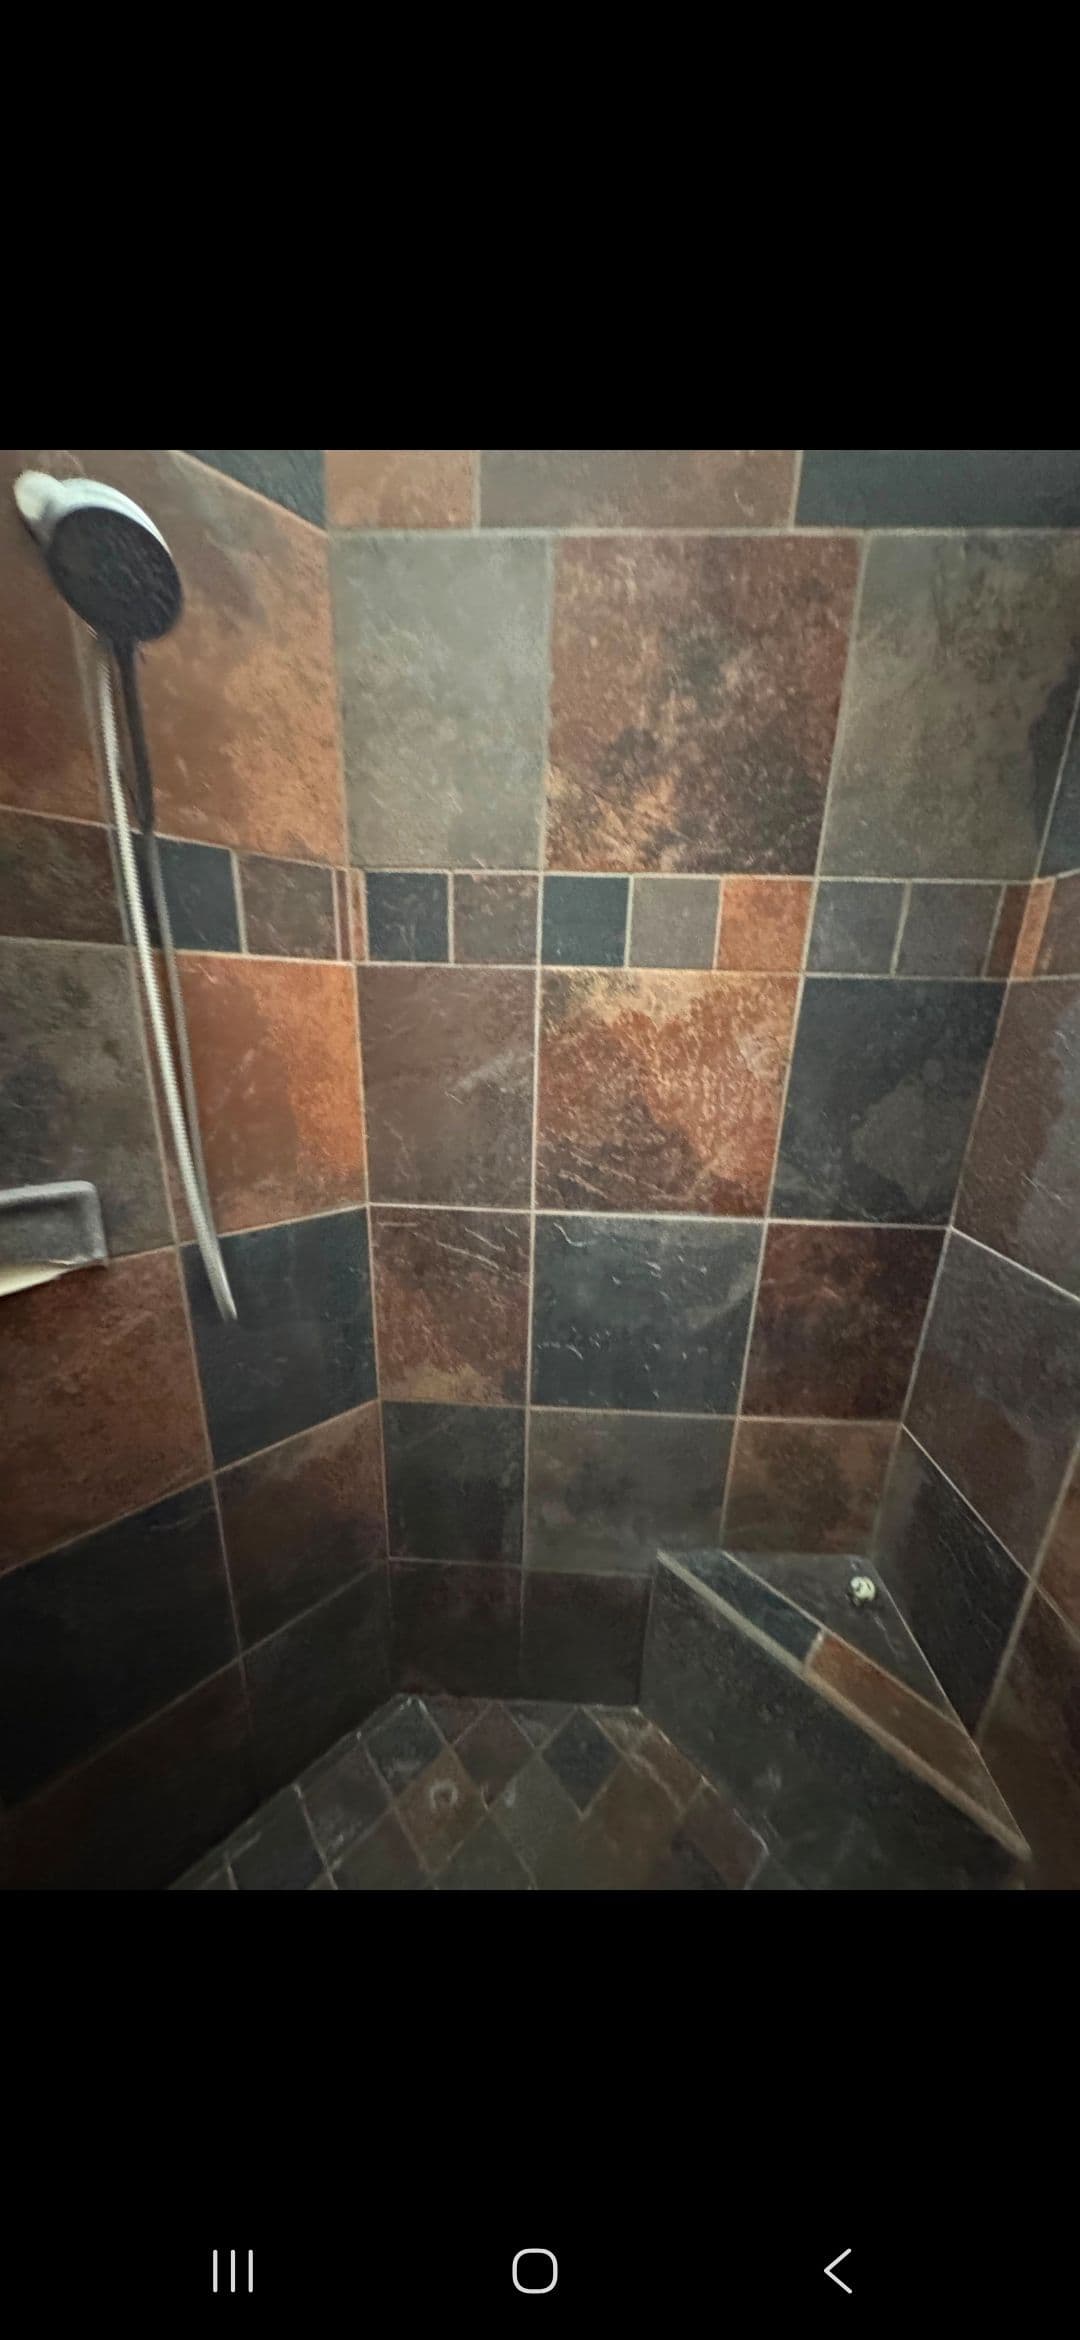
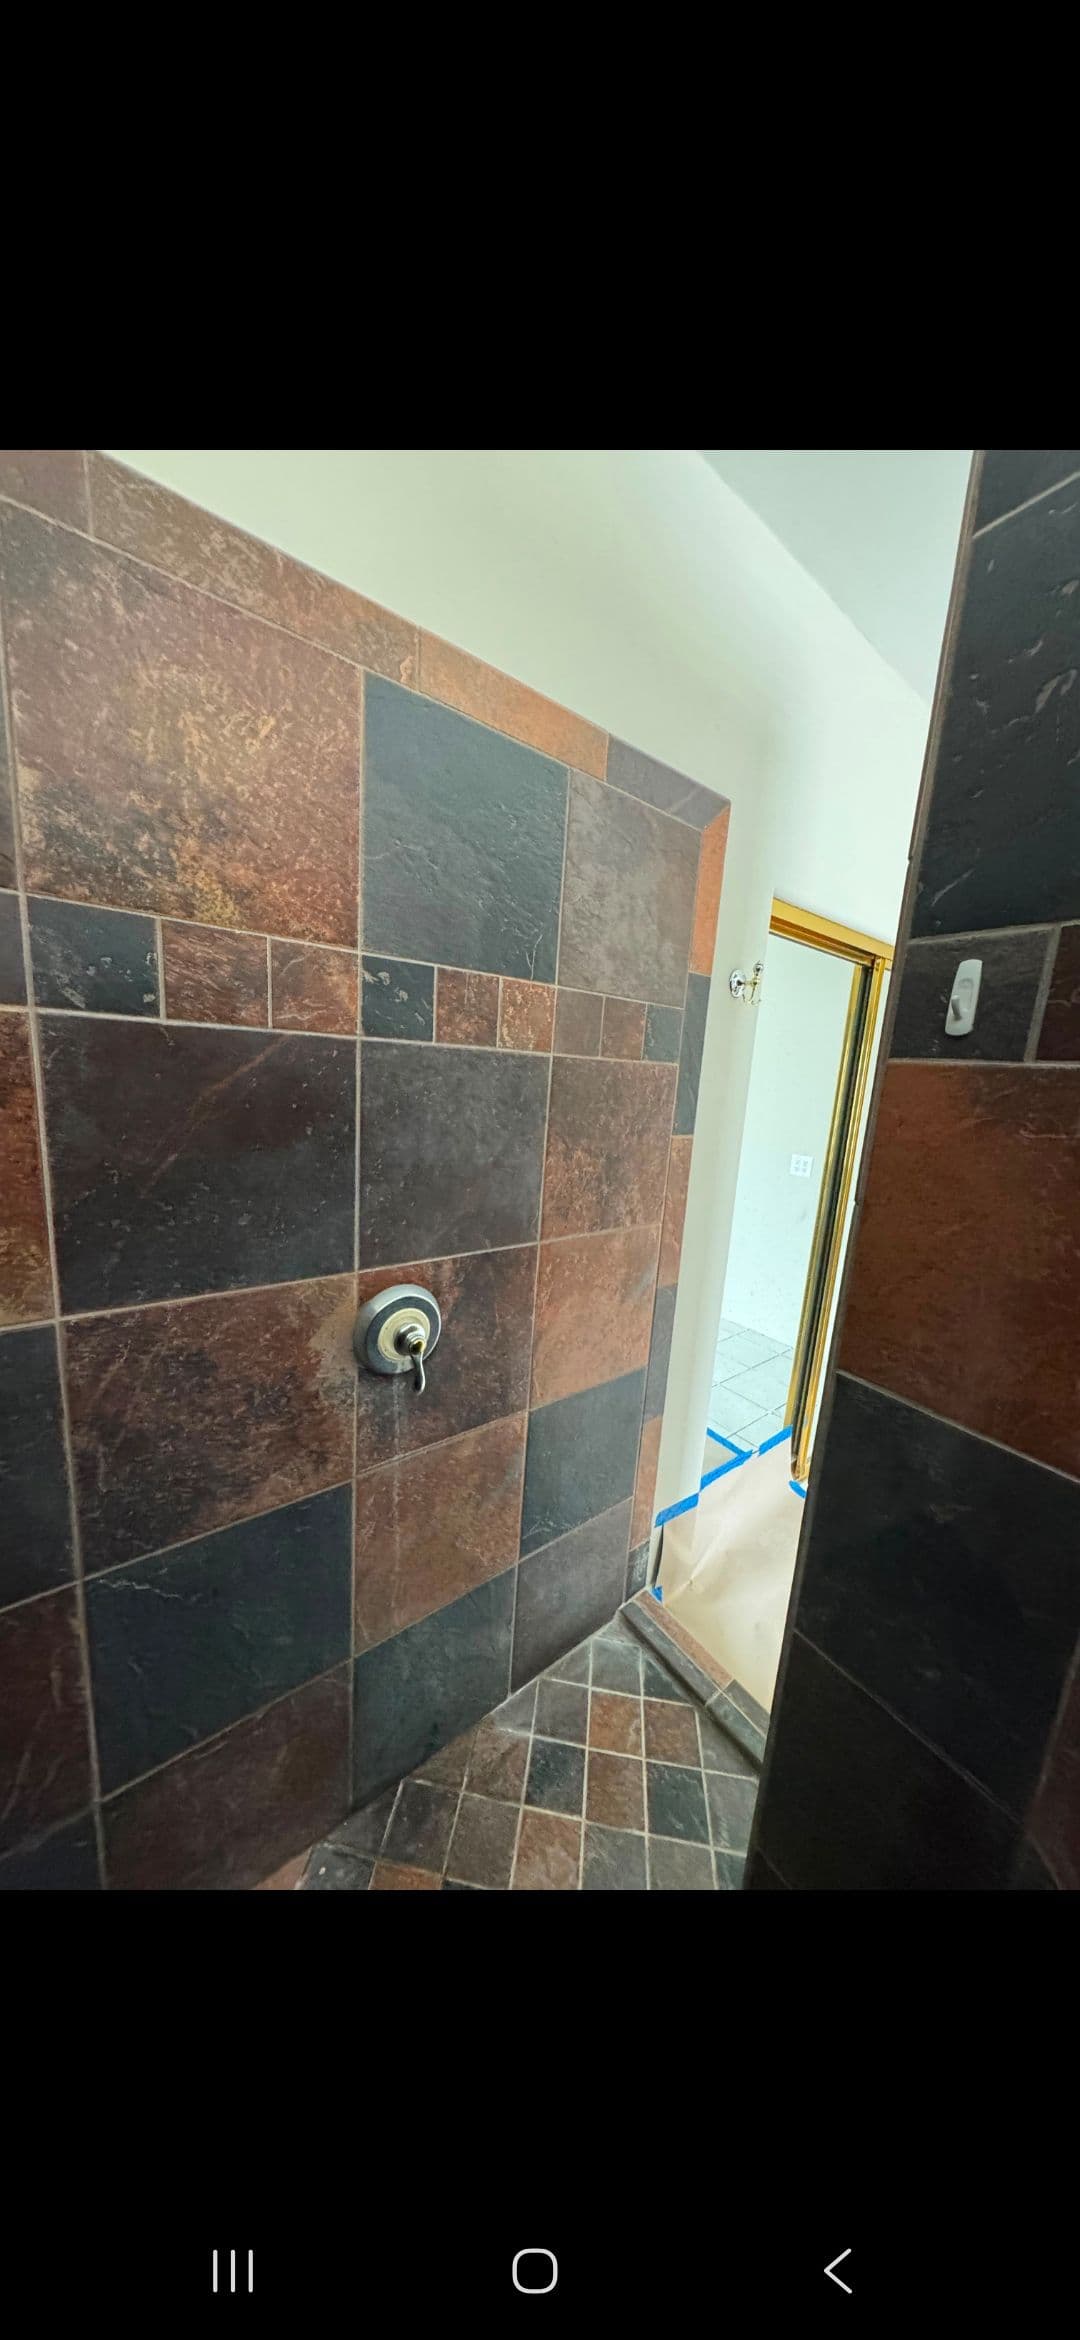
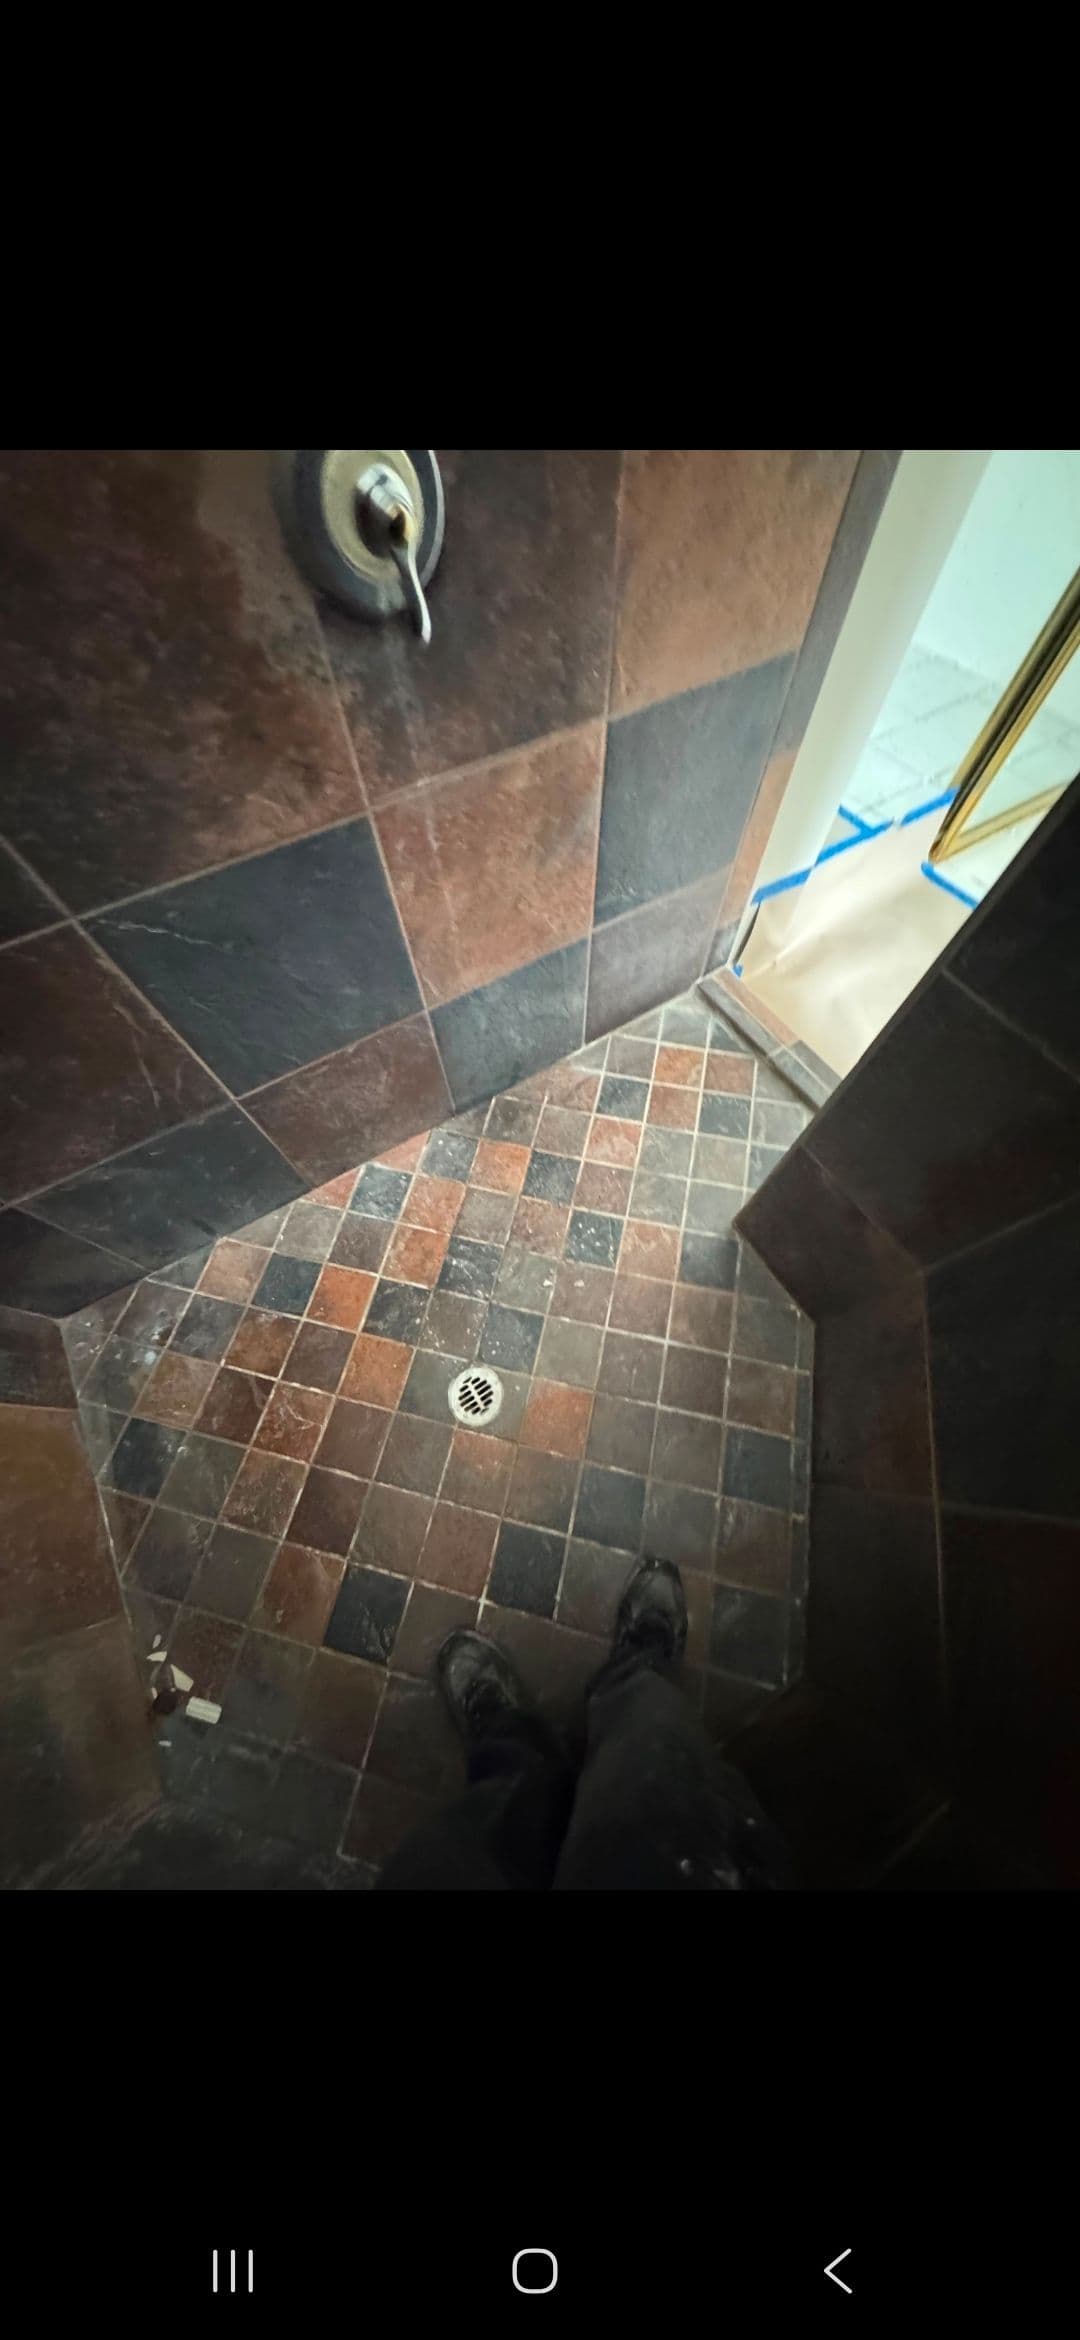
From there, we laid the slate-look tile throughout the shower - walls, floor, and the built-in corner bench. The floor tile is set in a diagonal pattern centered on the drain, which takes more time to lay out correctly but gives the finished space a custom feel. The result is a shower that's solid, safe, and something the homeowner can actually feel good stepping into.
Water damage restoration doesn't have to mean settling for a bare-minimum fix. Whether you're working through an insurance claim or just trying to figure out next steps after a flood, we help homeowners get from damage to done - the right way.